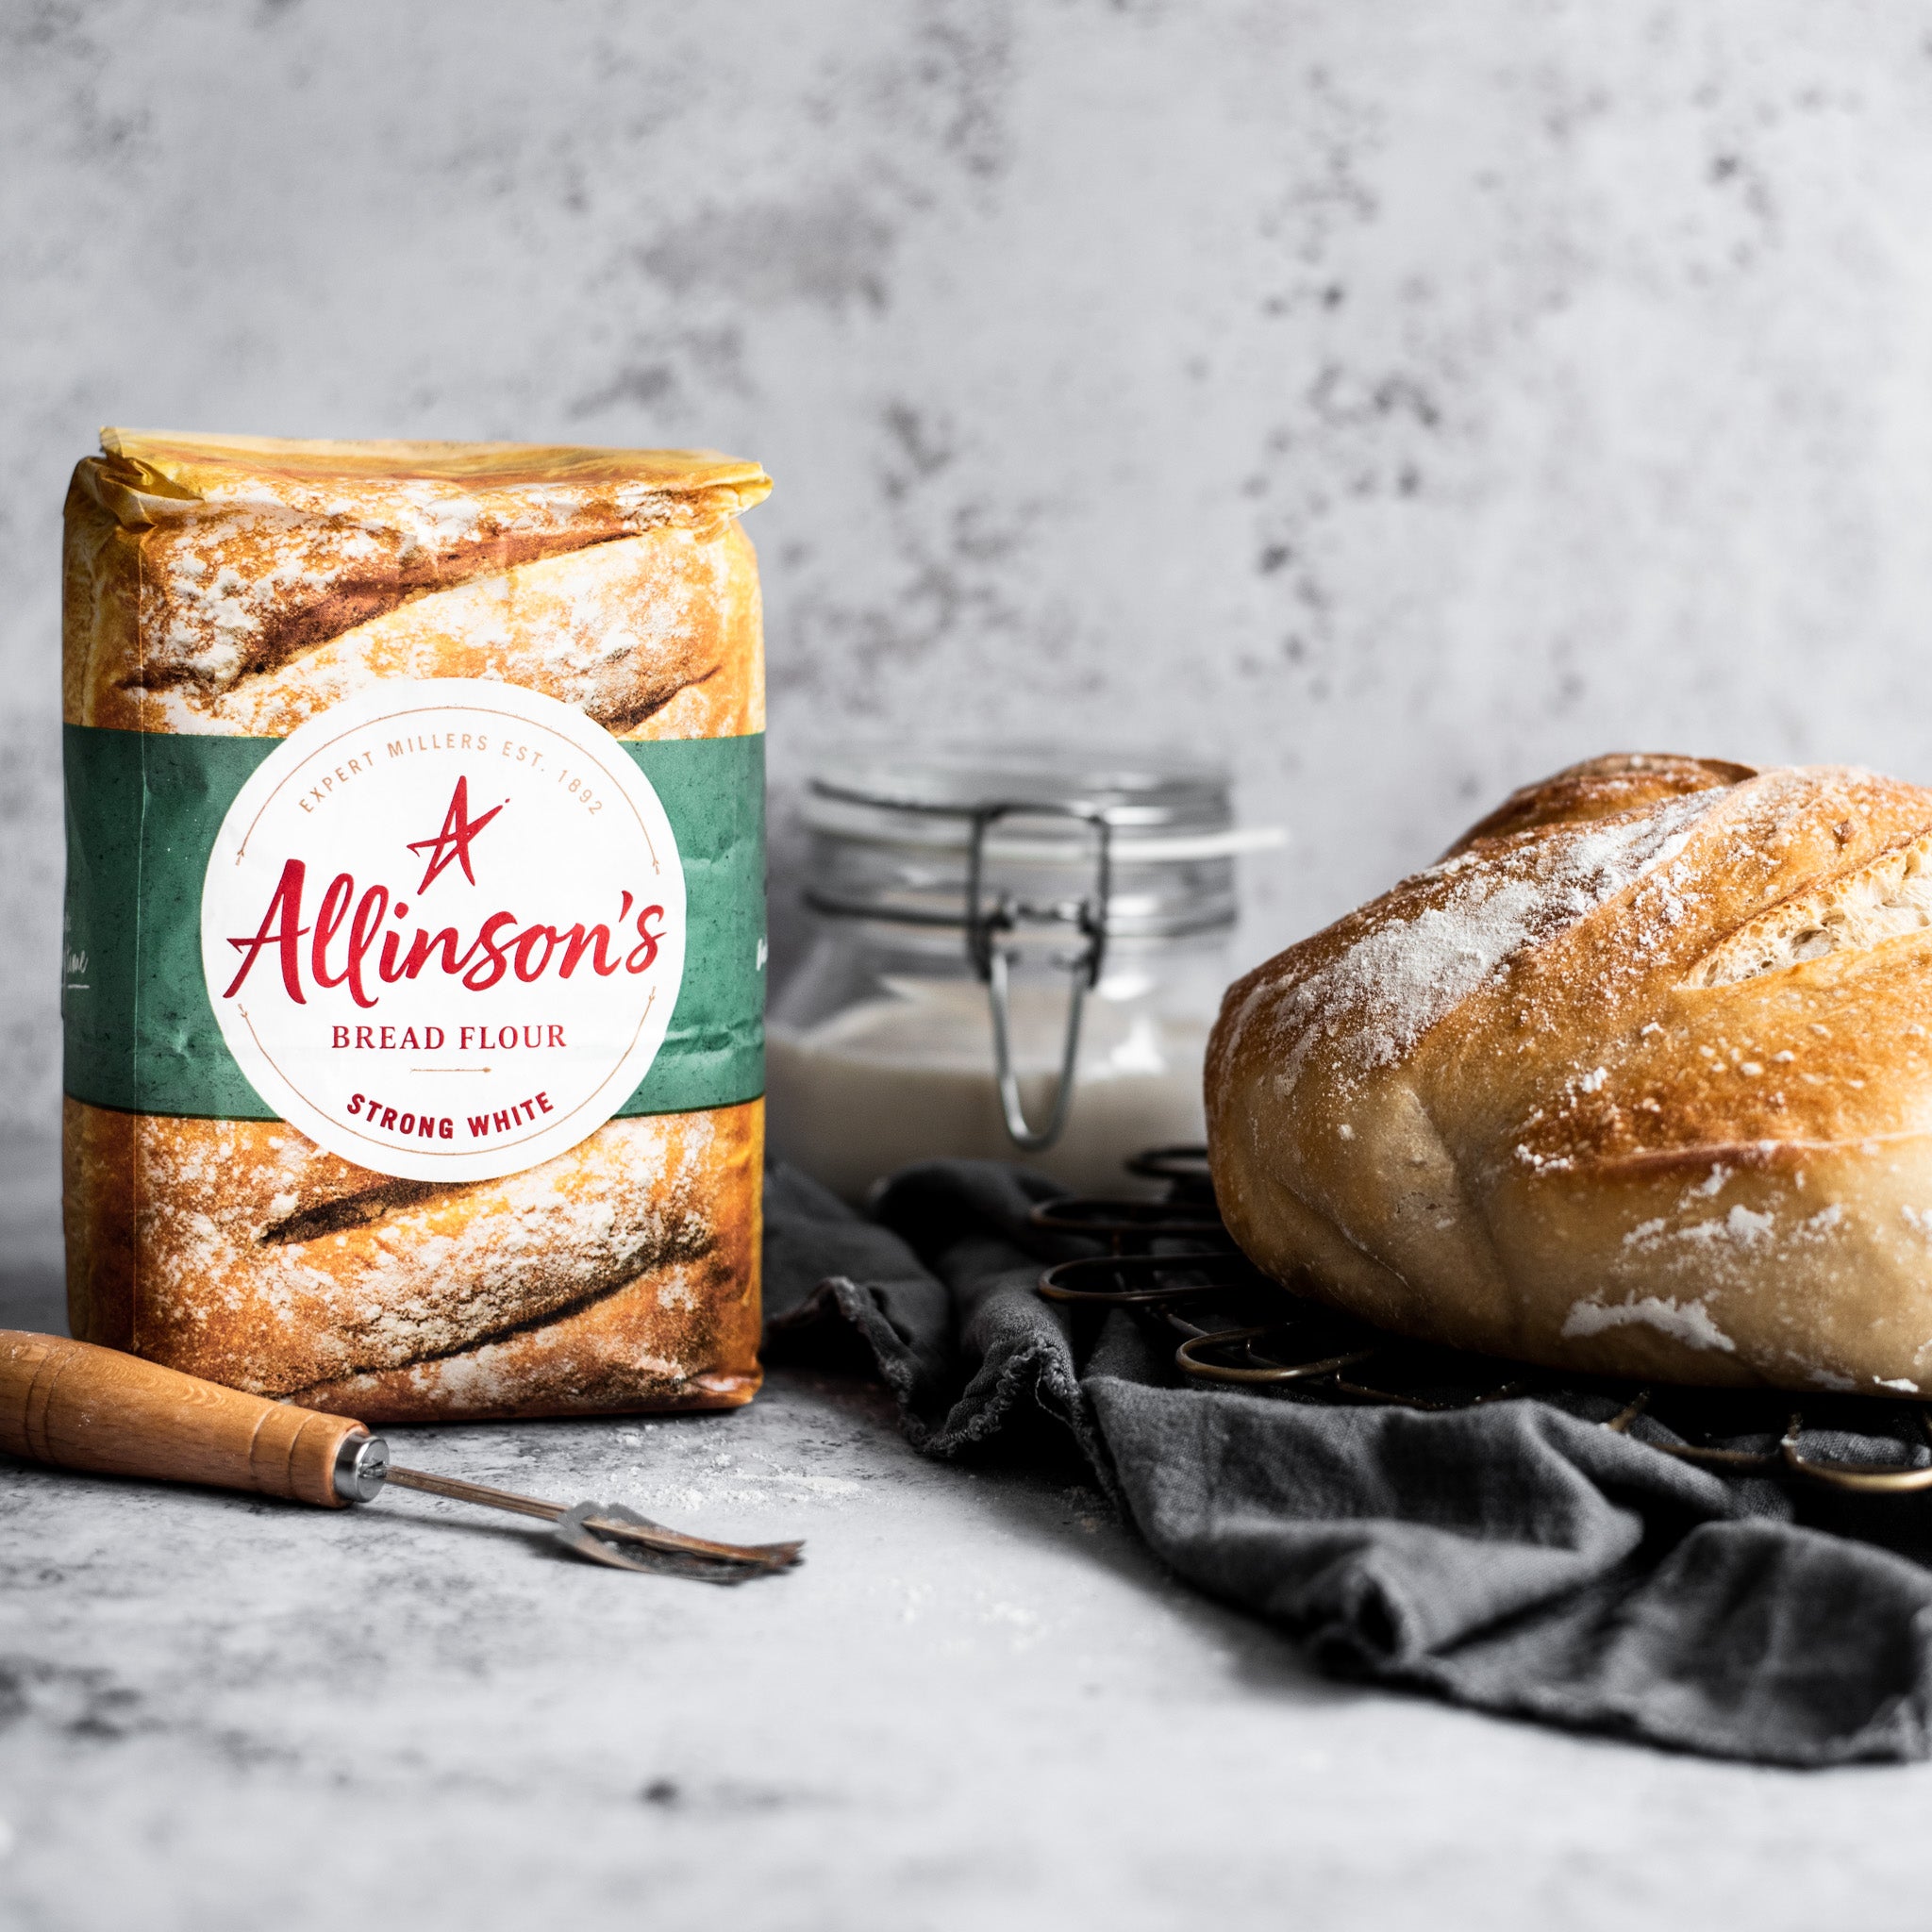
Sourdough bread is delicious, with a soft inside and chewy, slightly tangy crusts. Now you can make it yourself with this recipe. First you'll need to make your sourdough starter which takes around 7 days to develop.
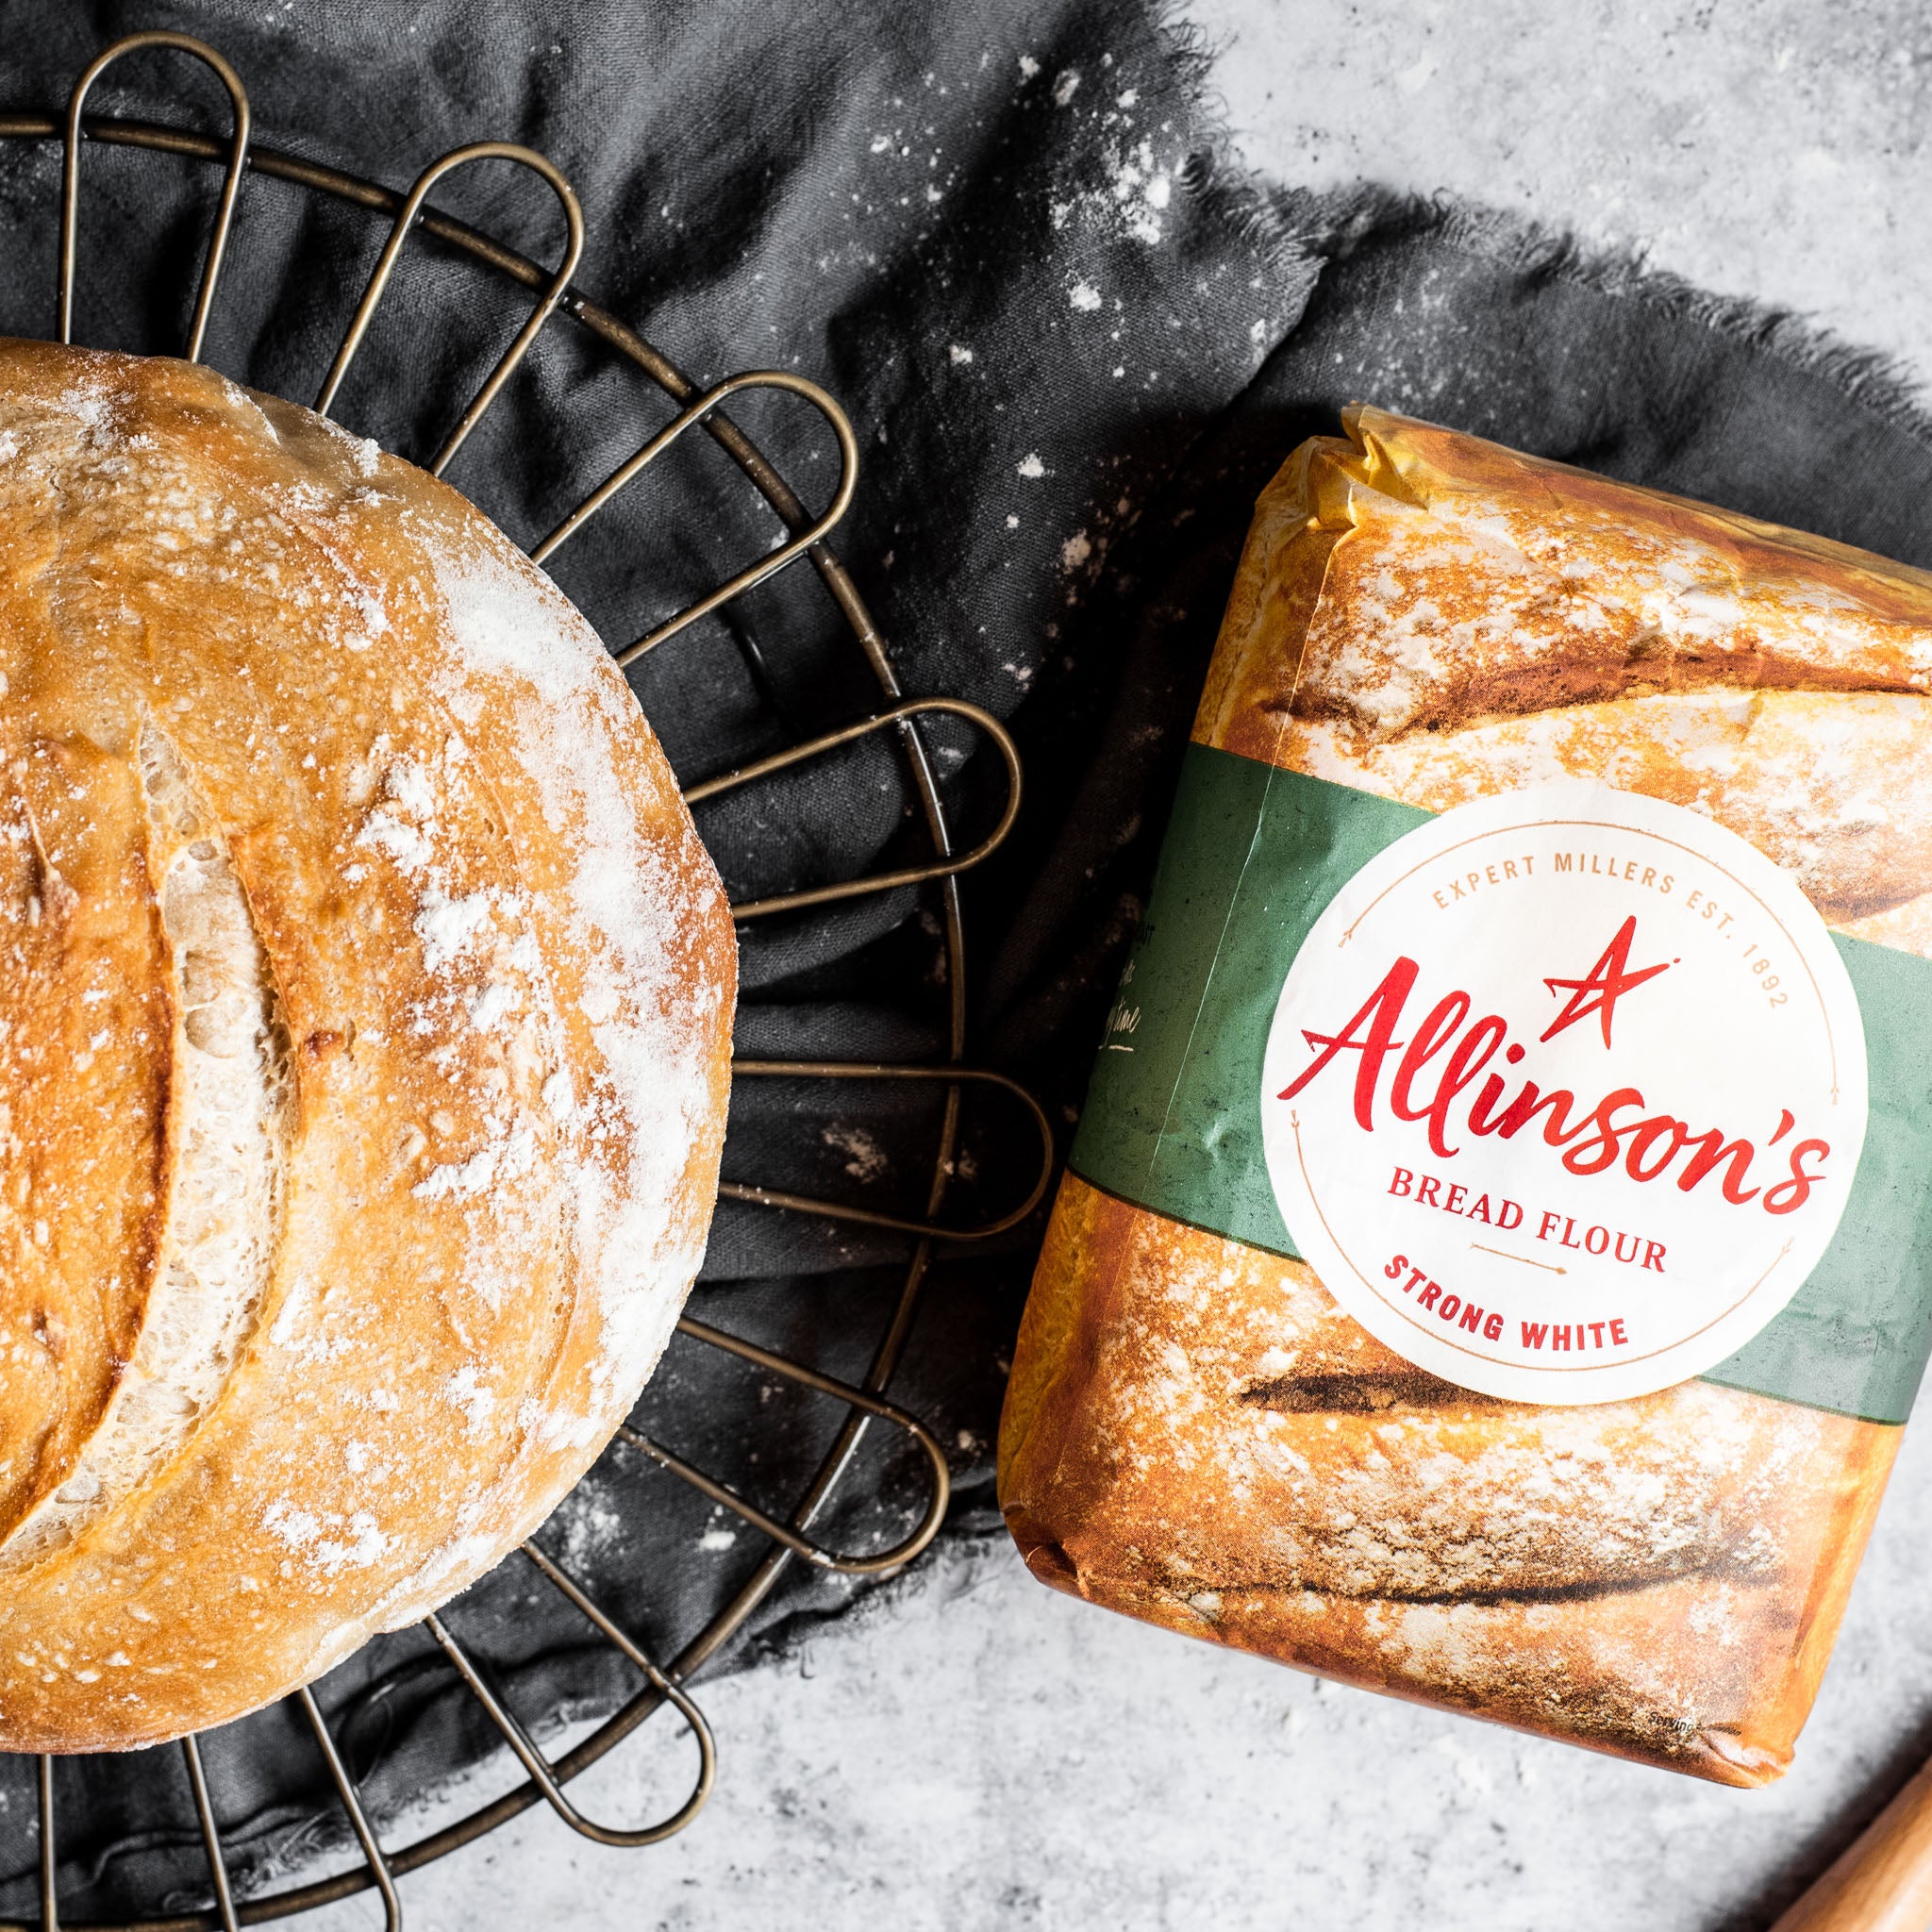
We'd recommend using Allinson's Strong White Bread Flour for this recipe because the high protein levels provide extra structure and support meaning you get a good rise and chewy texture.
This recipe has recently been refreshed and improved by the talented Jill Weatherburn. Jill Weatherburn is a food stylist, recipe developer, food consultant with over 30 years experience in the home economist industry.
Whilst sourdough bread takes time and patience, it all pays off in the flavour of your bread, making it worth the wait - we promise!
What is sourdough bread?
Sourdough is a type of bread made using fermented flour and wild yeast. Because of this, it contains lots of good bacteria and results in a tangy flavour and nice, chewy texture.
What is the secret to making good sourdough bread?
Every sourdough bread recipe starts with the same ingredient – patience. Trust the process and don’t try to hurry your starter along. Good quality flour makes all the difference, and we recommend using Allinson's Strong White Bread Flour because the high protein levels provide extra structure and support meaning you get a good rise and chewy texture.
Why is my sourdough bread not rising?
If your sourdough bread isn’t rising, it’s most likely an issue with your sourdough starter recipe. You could also try cooking your sourdough in a Dutch oven or add a tray of hot water to the oven as the extra steam helps the crust stay soft.
Is sourdough bread better for you than bread?
Sourdough bread is generally considered healthier than regular white bread for reasons such as:
Sourdough’s fermentation process means that sourdough can have a lower impact on blood sugar levels than its standard bread equivalent, causing them to rise more slowly therefore could be a better choice for people with diabetes
The fermentation process of sourdough results in the breakdown of proteins (including gluten), making sourdough easier to digest for some
By making your own sourdough bread you can ensure no artificial additives are added such as emulsifiers, preservatives or enzymes which are often found in commercially produced breads
How to Store
There are a few ways you can store your sourdough, but before storing - ensure it has cooled completely. Sourdough bread is best stored at room temperature in a dry place such a breadbox, wrapped in parchment paper, plastic bread bags or a cotton bag. This allows for air circulation whilst preventing moisture build up and your loaf can last up to 3 days. Putting your sourdough in the refrigerator is generally not recommended as it will dry out your sourdough and it will go hard quickly. For longer term storage, you can freeze your whole loaf or individual slices by wrapping them tightly in a freezer bag.
4 ingredients9 steps
Vegetarian
Ingredients
MetricImperial
500gAllinson's Strong White Bread Flour
100gSourdough starter
350mlWarm water
10gSea salt
Utensils
Mixing bowl
Nutritional information per 48g serving
Energy 144cal
Fat 0g
of which Saturates 0g
Carbohydrates 29g
of which Sugars 0.7g
Protein 4.9g
Salt 0.49g
Method
Step 1
In a large bowl or the bowl of a freestanding mixer, with the dough hook attached, mix the flour and salt, then add the starter and water. Mix for a few seconds until you have a fairly rough dough. Do not over mix at this point but ensure that the flour has been mixed into the liquids. Rest the dough in the bowl for 30 minutes.
Step 2
With slightly damp hands fold the dough over 10 times by gently folding the dough from the outside into the the centre turning the bowl with each fold. Repeat this process 6 times at 10-minute intervals. The dough will become less sticky and more elastic.
Step 3
Transfer the dough to a clean lightly oiled bowl, cover with a damp tea towel or oiled cling film and leave in a warm self-contained place to prove for about 3 hours or until it has doubled in size
Step 4
Using a scraper get the dough out of the bowl onto the clean surface lightly dusted with flour trying not to knock out the air bubbles. Very gently stretch the dough into a long rectangle, fold the bottom of the dough into the centre then pull the top over creating a smaller rectangle. Return the dough to the lightly oiled bowl, with the seal at the bottom, cover with a damp clean tea towel or a piece of oiled cling film. Rest for 30 minutes.
Step 5
Repeat the folding process then place the dough smooth side down into a bowl lined with a heavily floured clean tea towel or a floured proving basket. Leave to prove for up to 4 hours or until it has doubled in size. Alternatively, you can prove in the fridge overnight. (If proving in the fridge bring it out at least two hours before cooking and leave in a warm place).
Step 6
Preheat the oven to 230°C (210°C fan, gas mark 8) with the baking sheet in the oven. Place a roasting tin in the base of the oven then pour in about a litre of boiling water in to create some moisture in the oven cavity.
Tip: Alternatively, the Sourdough can be cooked in a preheated Dutch oven or deep cast iron casserole dish with lid. Put the Sourdough on floured parchment into the heated Dutch oven, cook for 30 minutes at 230°C (210°C fan, gas mark 8) with the lid on then reduce the temperature to 200°C (180°C, gas mark 6) for a further 15 minutes).
Step 7
Turn the sourdough loaf out onto a baking tray, heavily dusted with flour, or a hot baking stone. Slash the top with a sharp knife.
Step 8
Place the soughdough loaf into the oven and bake for 30 minutes then lower the temperature to 200°C (180°C fan, gas mark 6) for a further 15 minutes until the loaf is golden brown and the base sounds hollow when it’s tapped.
Step 9
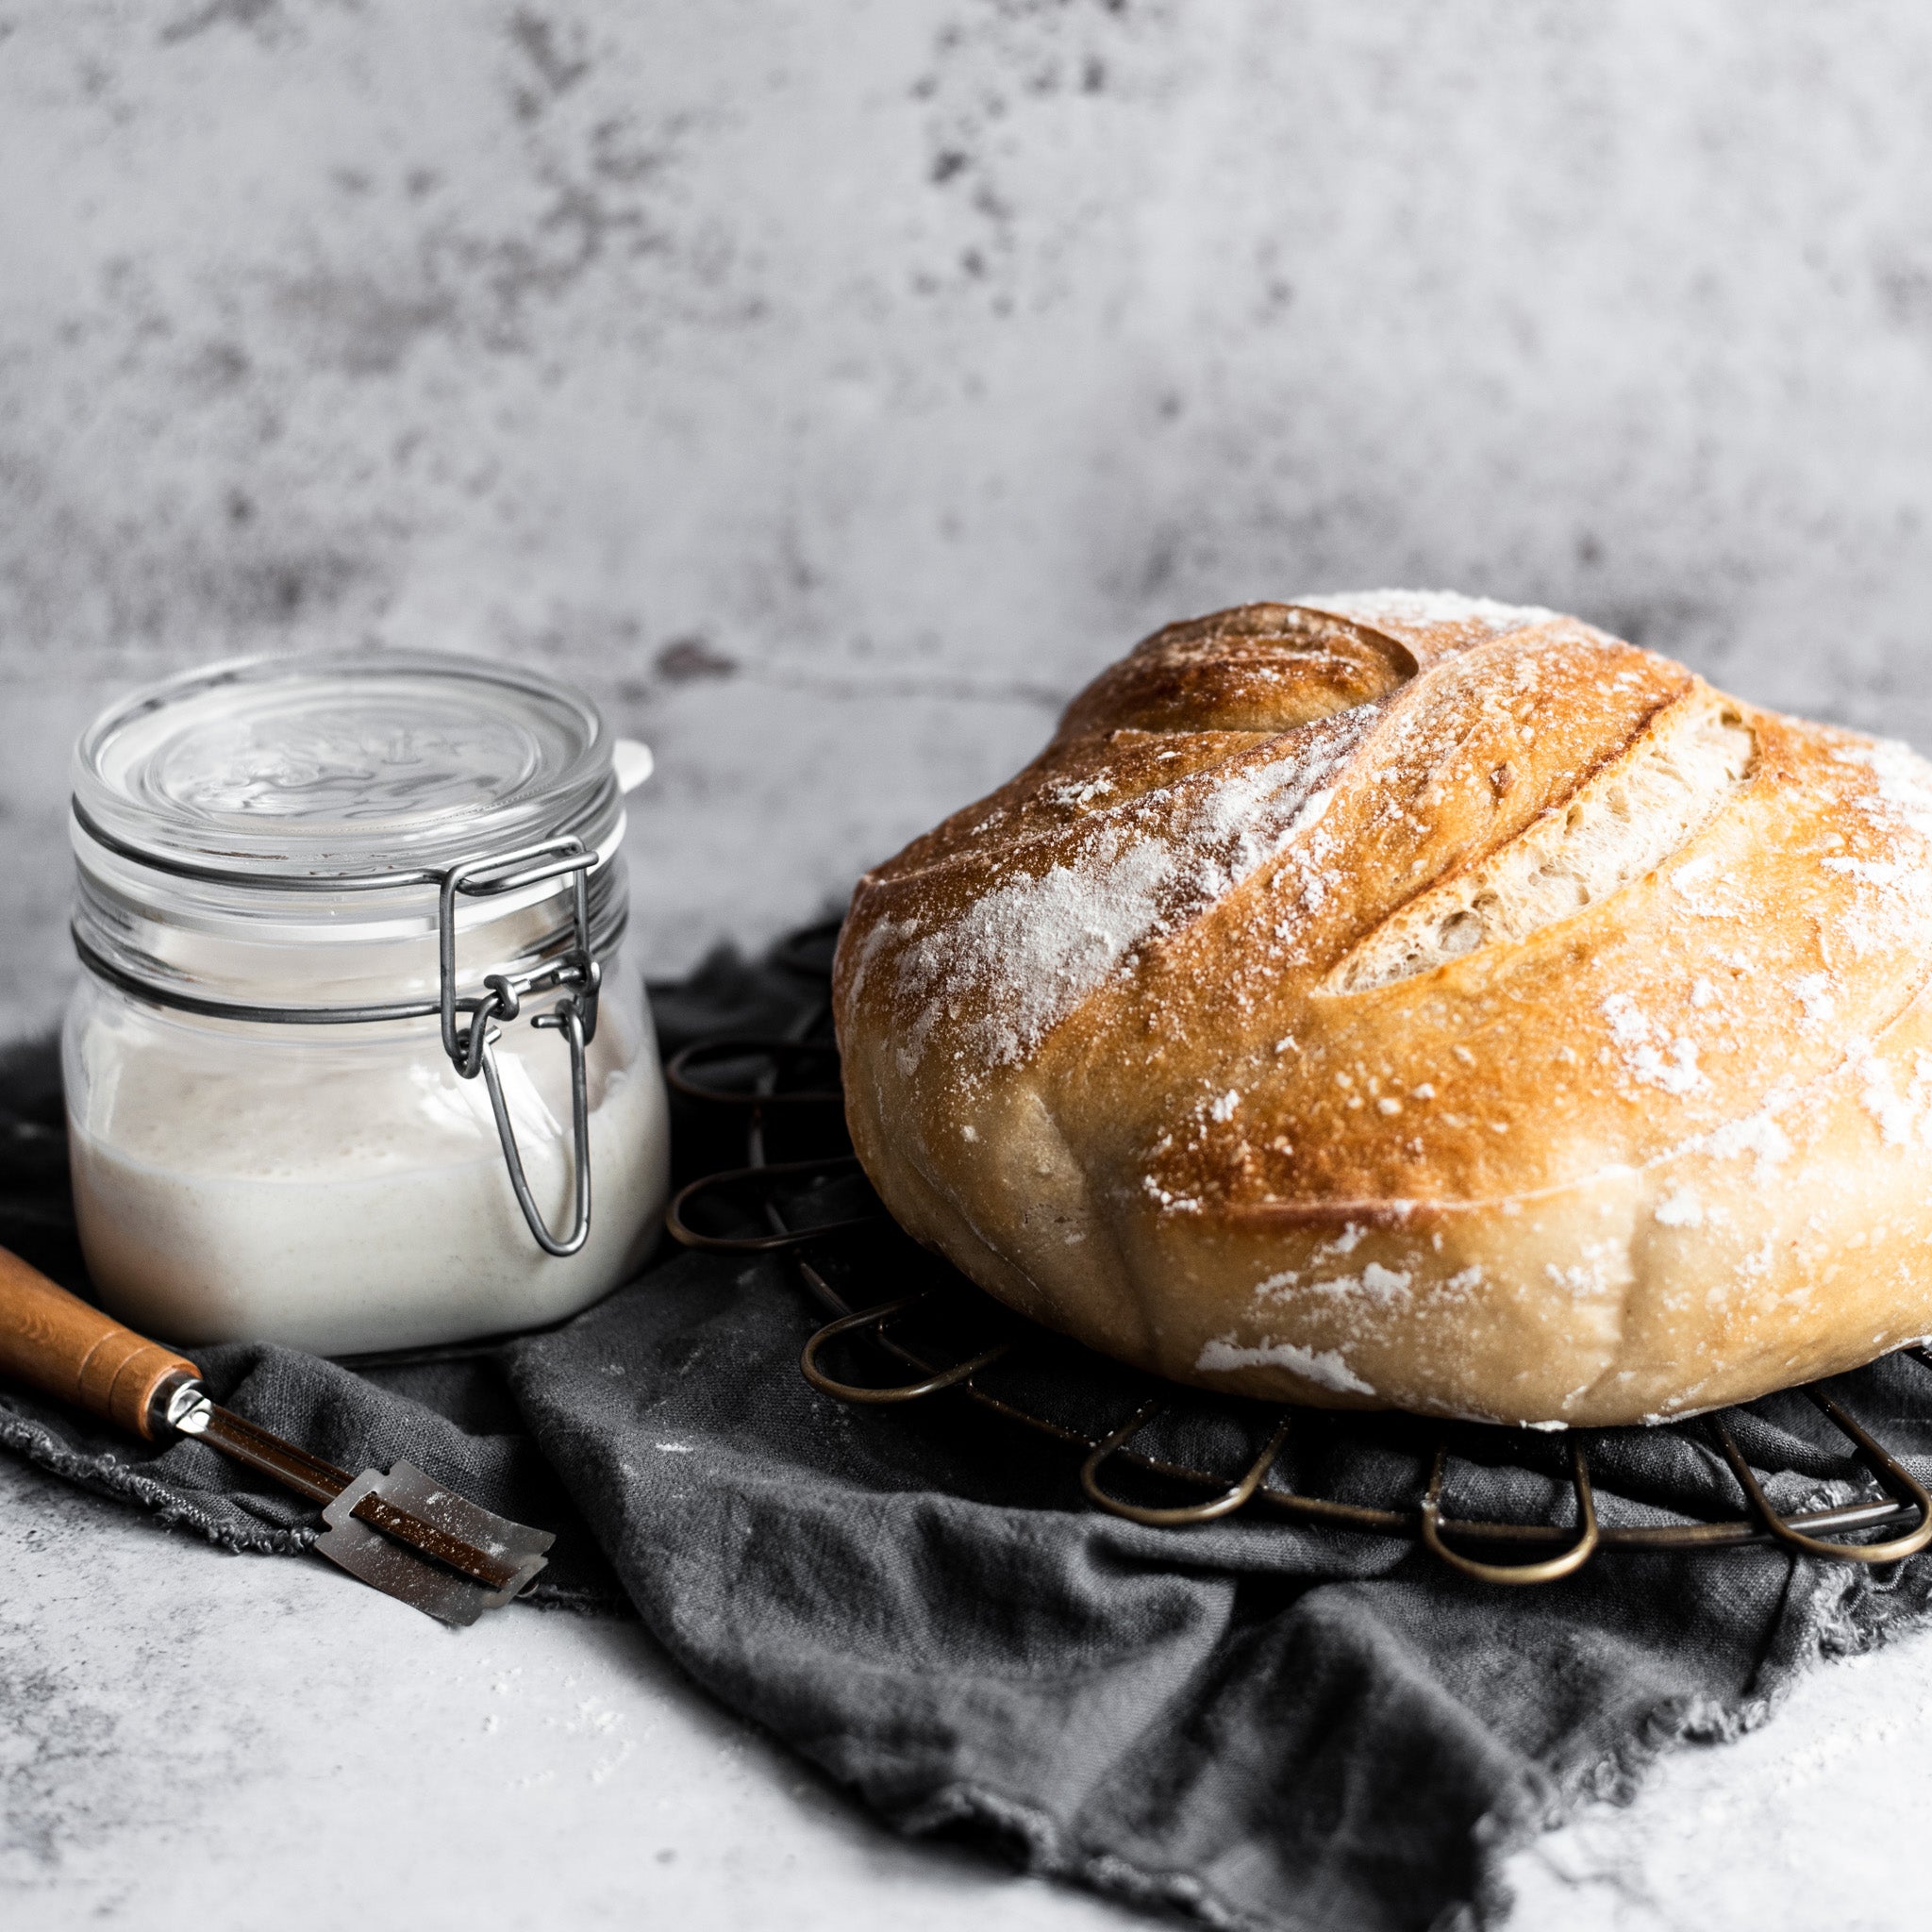
Transfer the sourdough to a wire rack to cool completely before slicing.
Top Tips
How to Store
There are a few ways you can store your sourdough, but before storing - ensure it has cooled completely. Sourdough bread is best stored at room temperature in a dry place such a breadbox, wrapped in parchment paper, plastic bread bags or a cotton bag. This allows for air circulation whilst preventing moisture build up and your loaf can last up to 3 days. Putting your sourdough in the refrigerator is generally not recommended as it will dry out your sourdough and it will go hard quickly. For longer term storage, you can freeze your whole loaf or individual slices by wrapping them tightly in a freezer bag.
FAQs
What can I eat sourdough bread with?
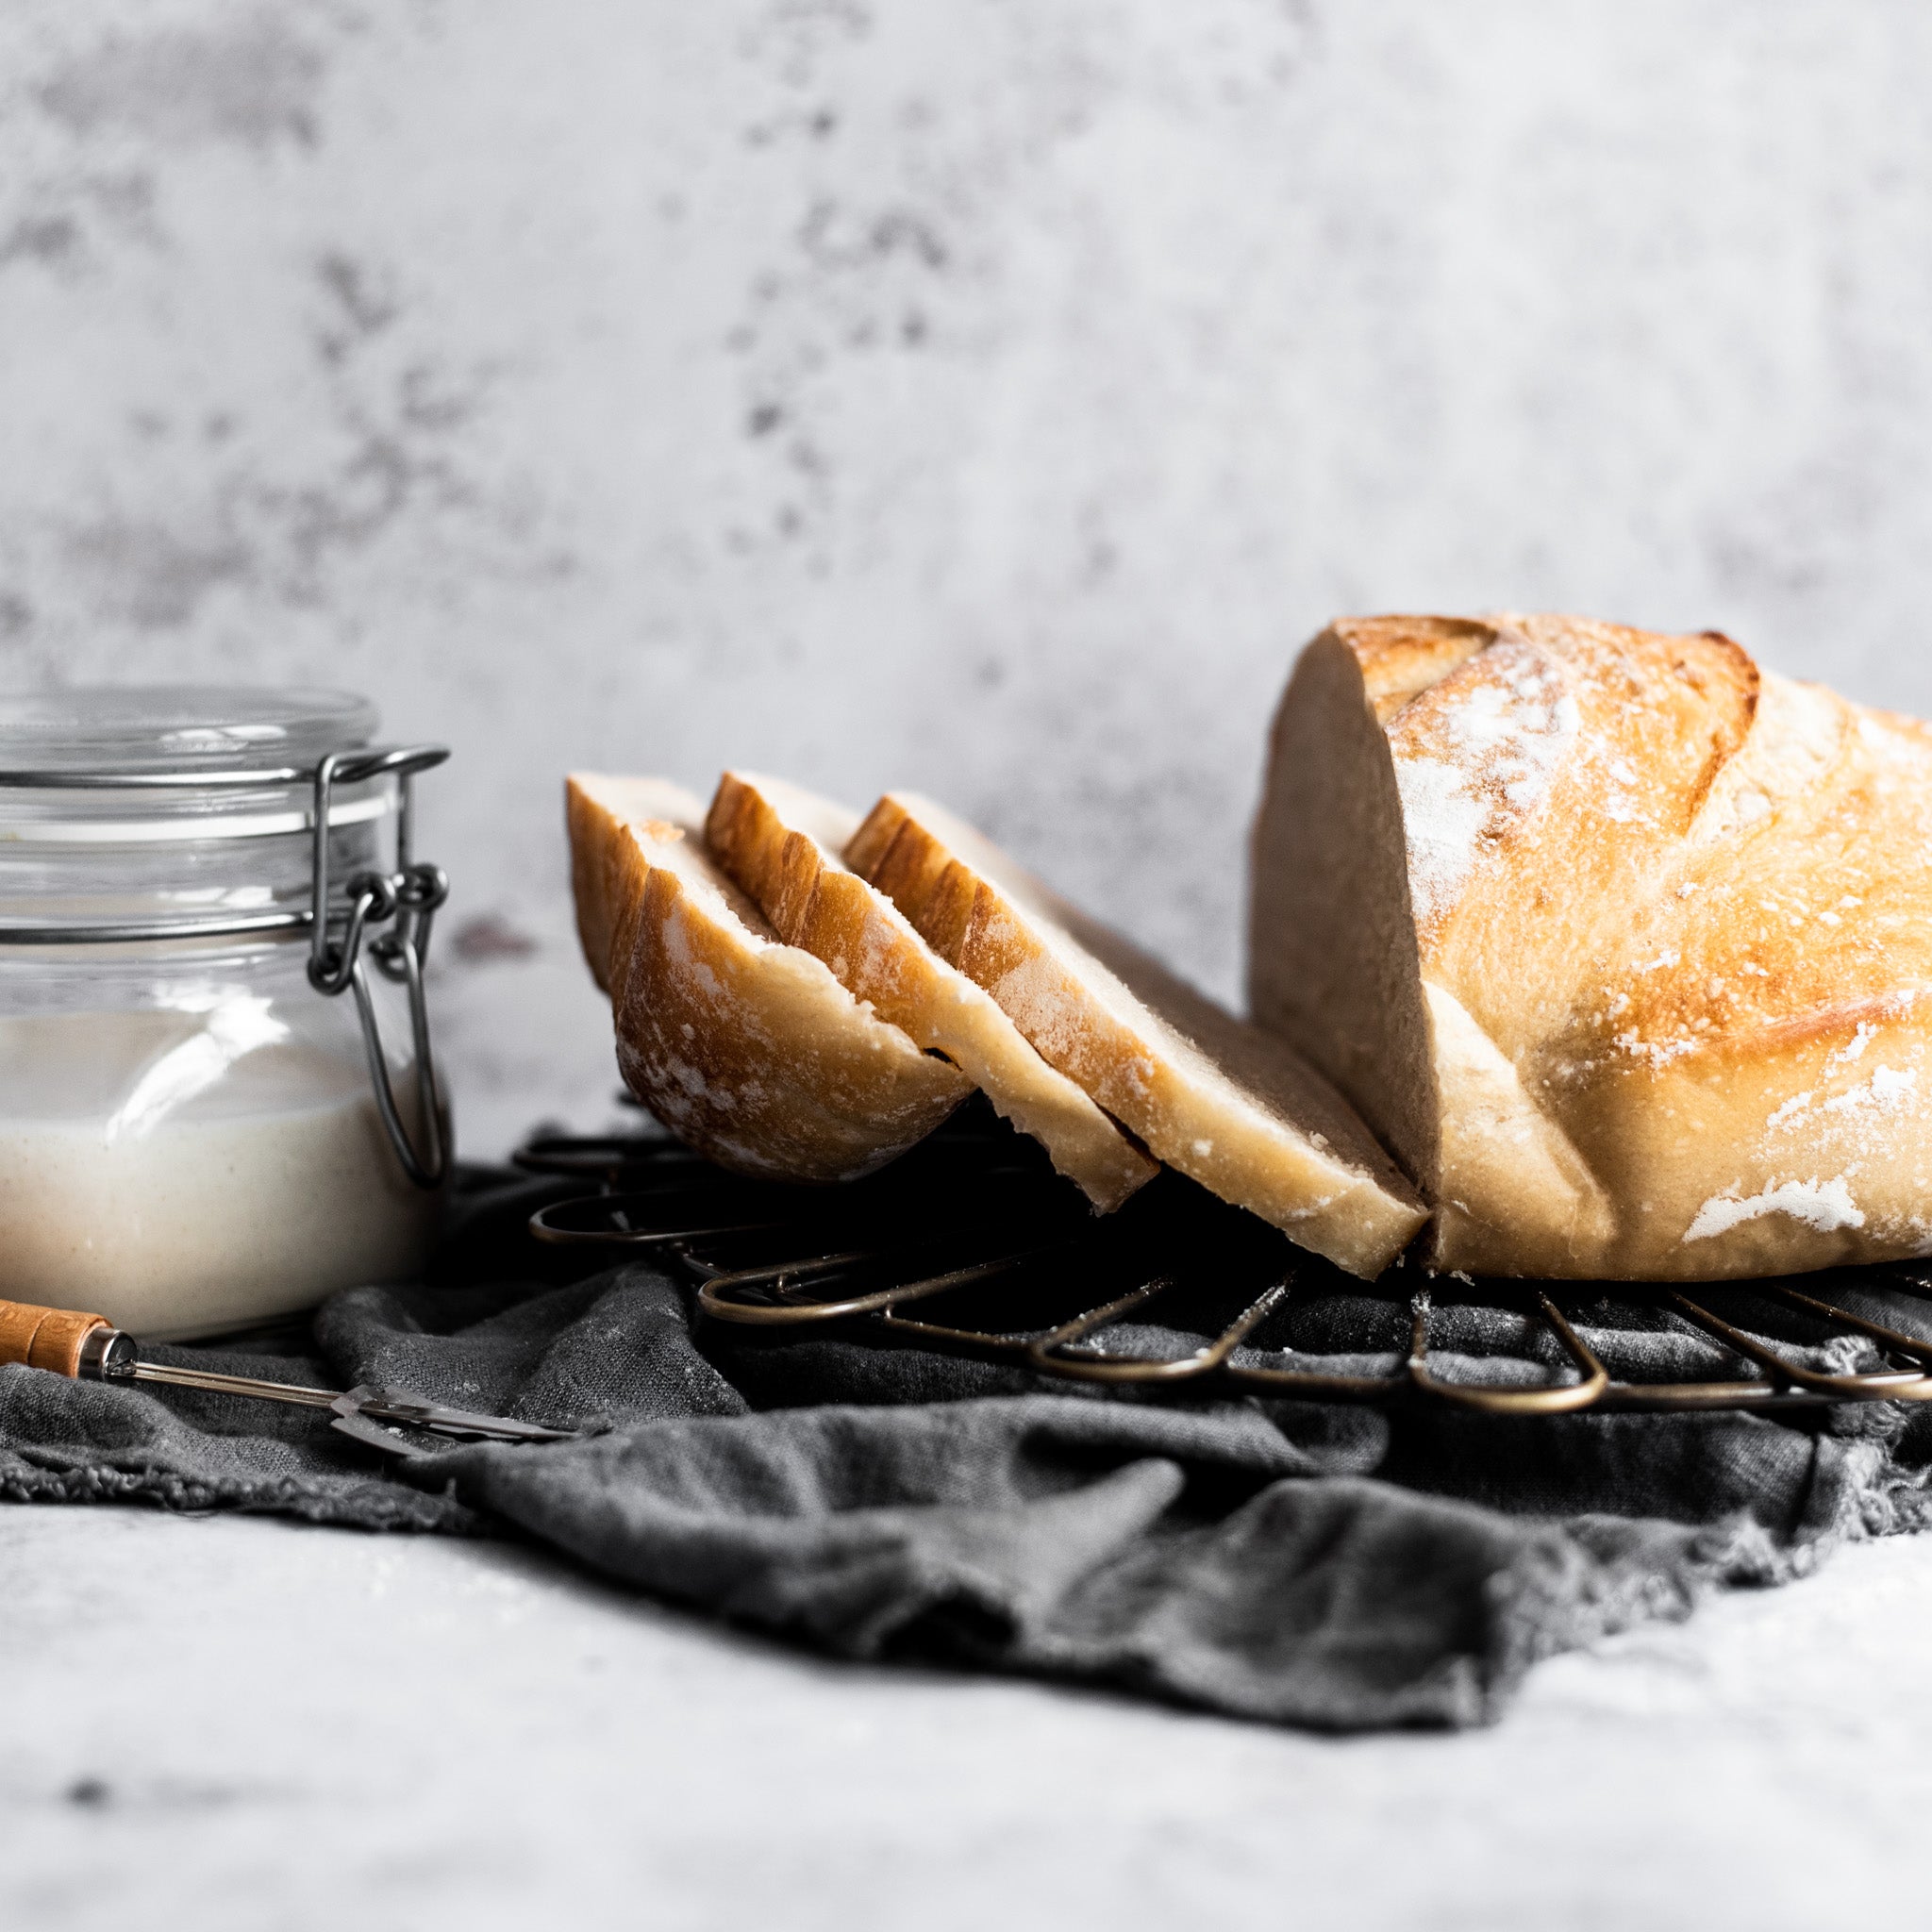
Sourdough bread is tasty and versatile. It's great toasted with butter, or used in a sandwich or a toastie. Due to the chewy texture of sourdough, it's also delicious when dipped into hummus, soup or used to make bruschetta.
Is sourdough bread good for you?
Sourdough is made using natural ingredients that ferment over time. Due to this, sourdough has been said to:
Support gut health
Manage blood sugar
Aid digestion
Contain more nutrients than normal bread
Reduce the risk of heart disease
What makes sourdough different to other breads?
Rather than using commercial yeast, sourdough is leavened so the bread naturally rises due to the gas produced during fermentation. This results in bread that is more digestible and nutritious than regular or whole-wheat bread.
What is the secret to making good sourdough bread?
Every sourdough bread recipe starts with the same ingredient – patience. Trust the process and don’t try to hurry your starter along. Good quality flour makes all the difference, and we recommend using Allinson's Strong White Bread Flour because the high protein levels provide extra structure and support meaning you get a good rise and chewy texture.
How much sourdough starter to use for 500g flour?
A typical sourdough bread recipe uses 20–25% starter by flour weight, so with 500g flour we’d suggest 100 – 125g of your sourdough starter.