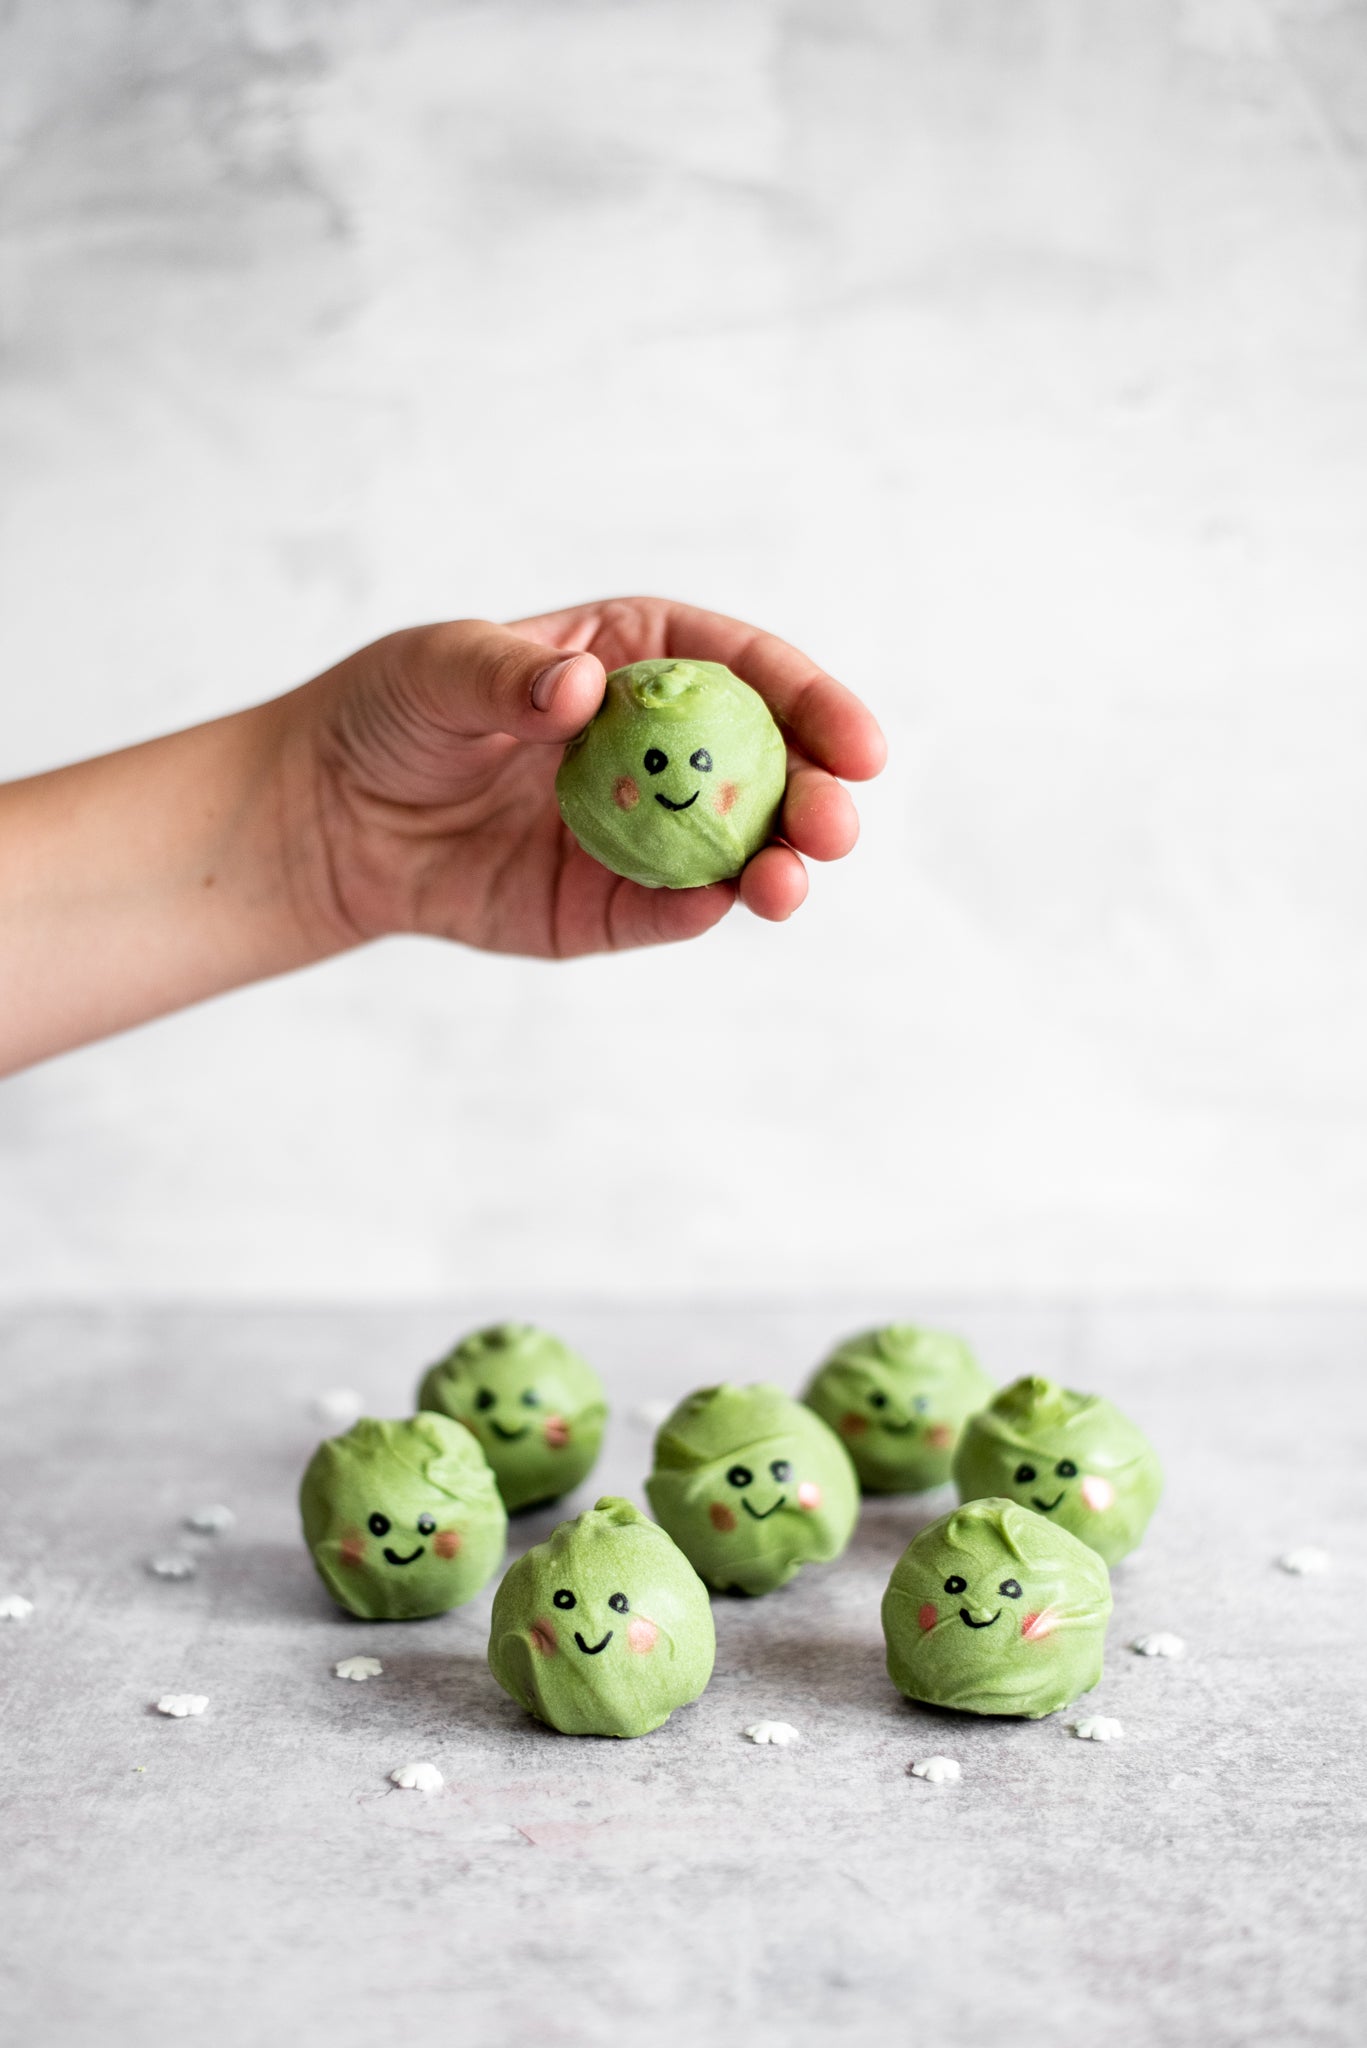
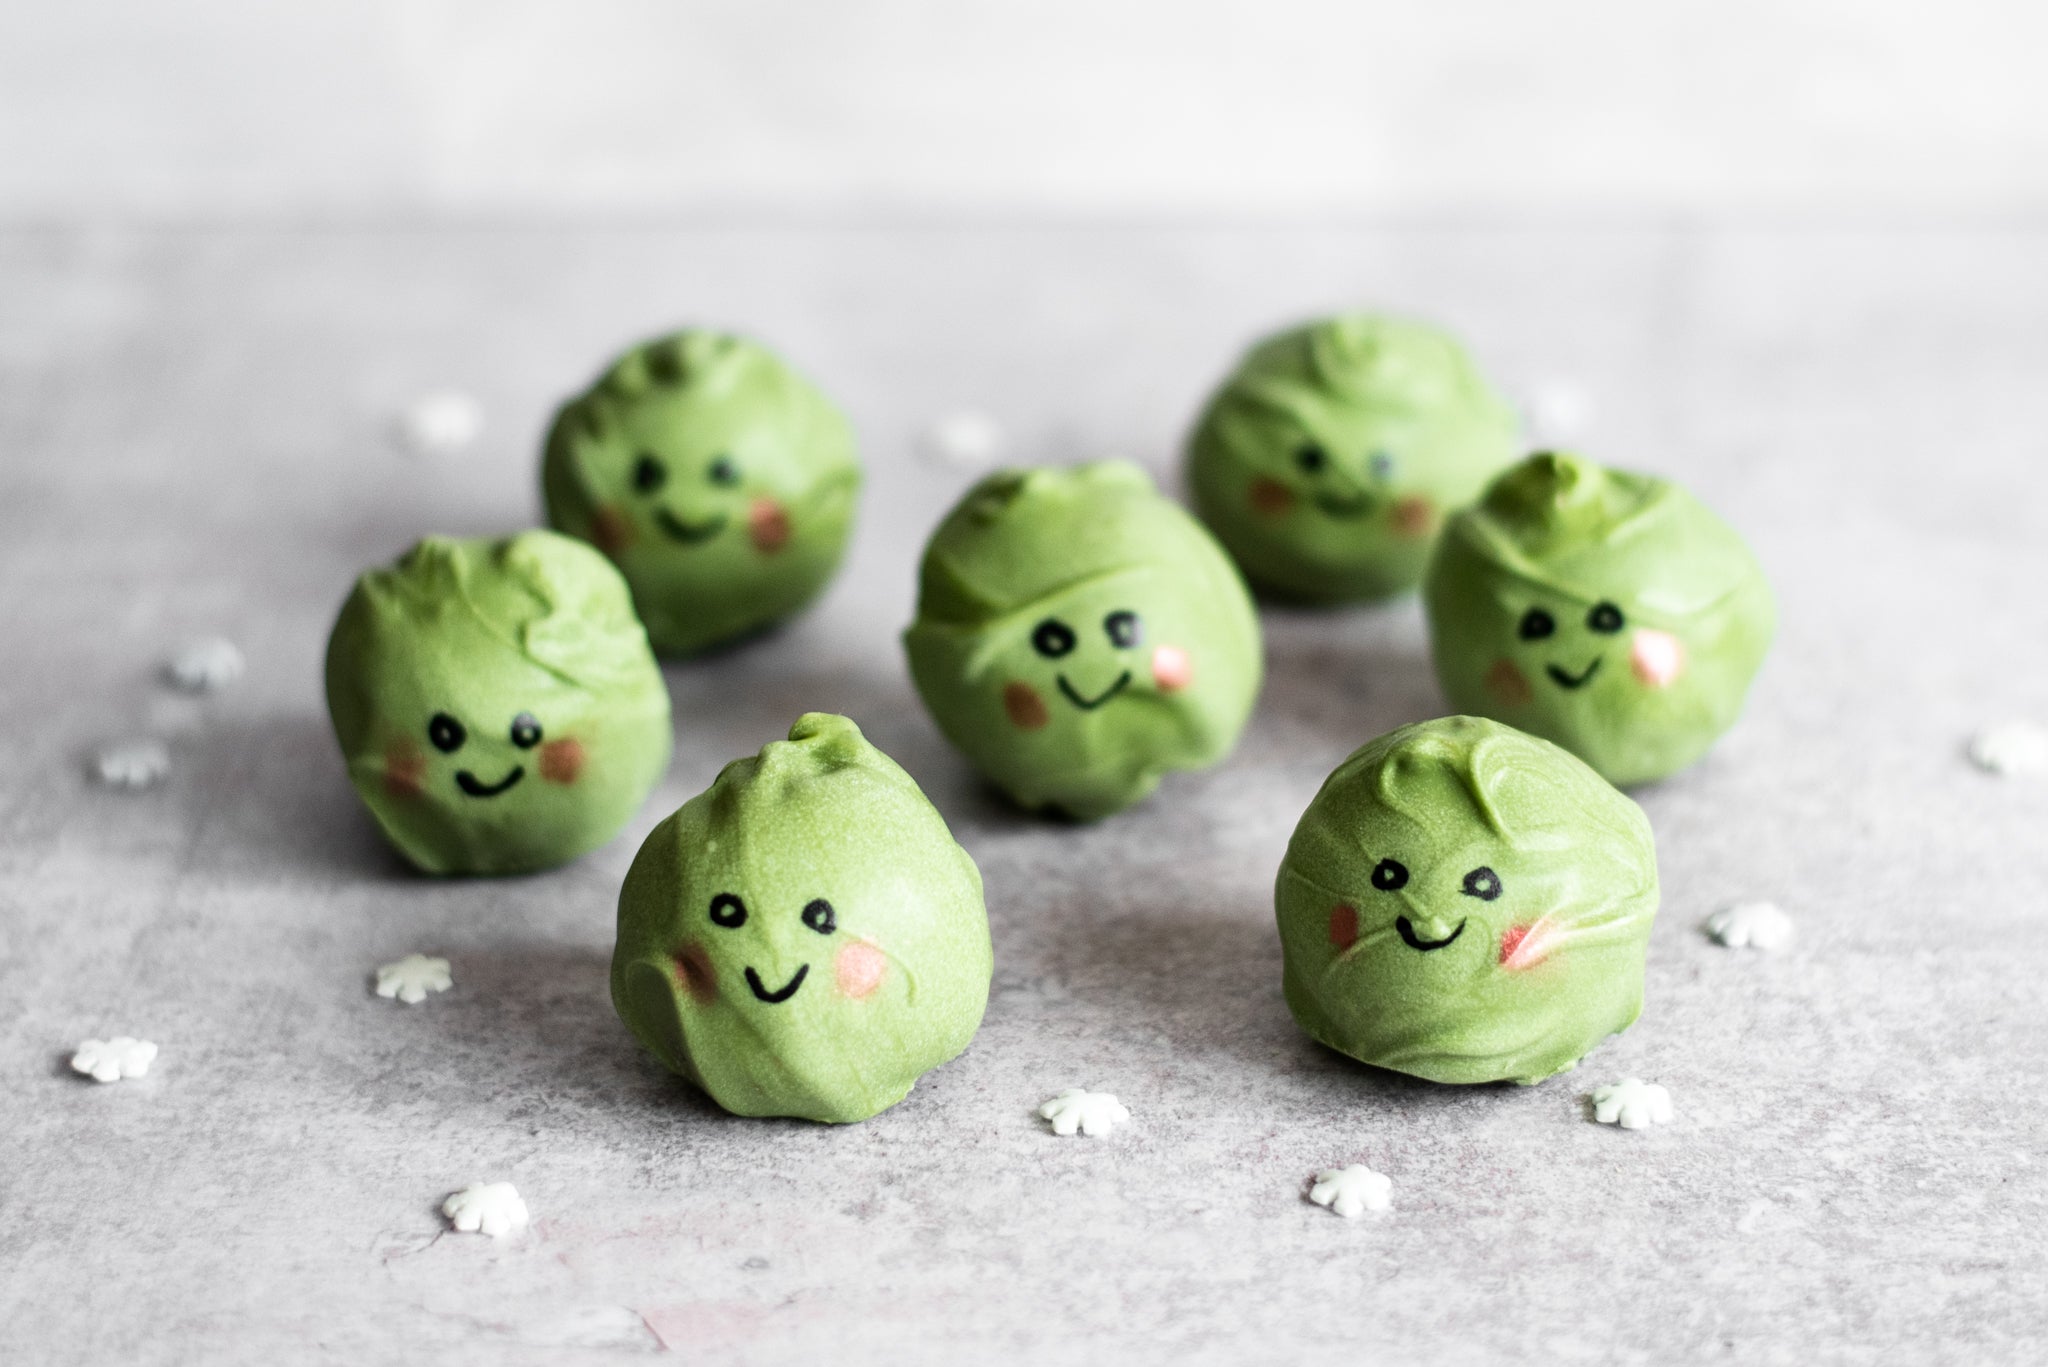
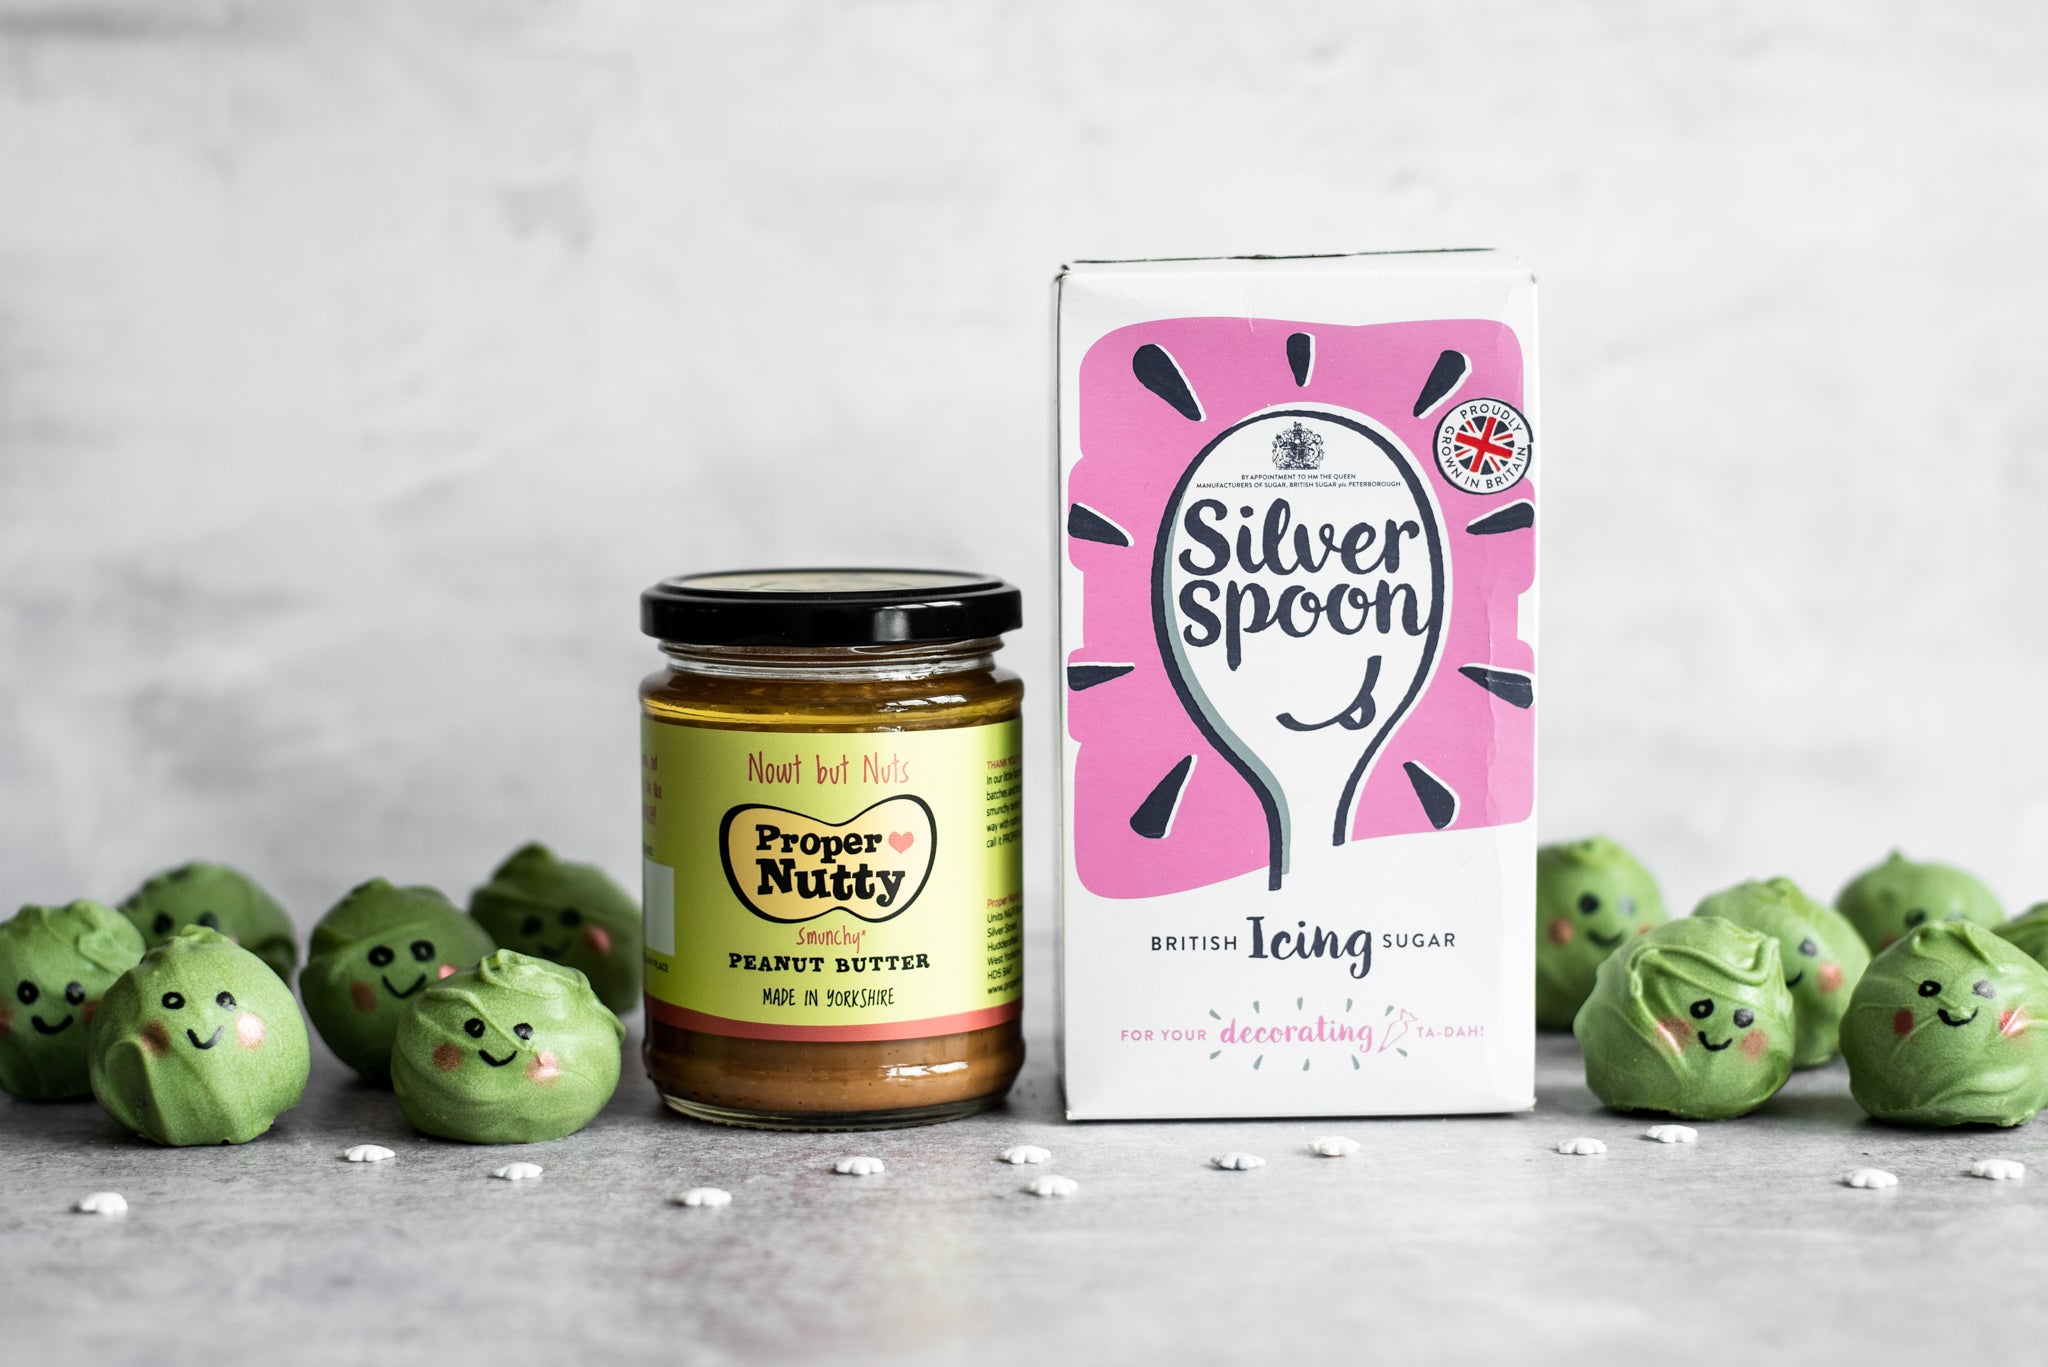
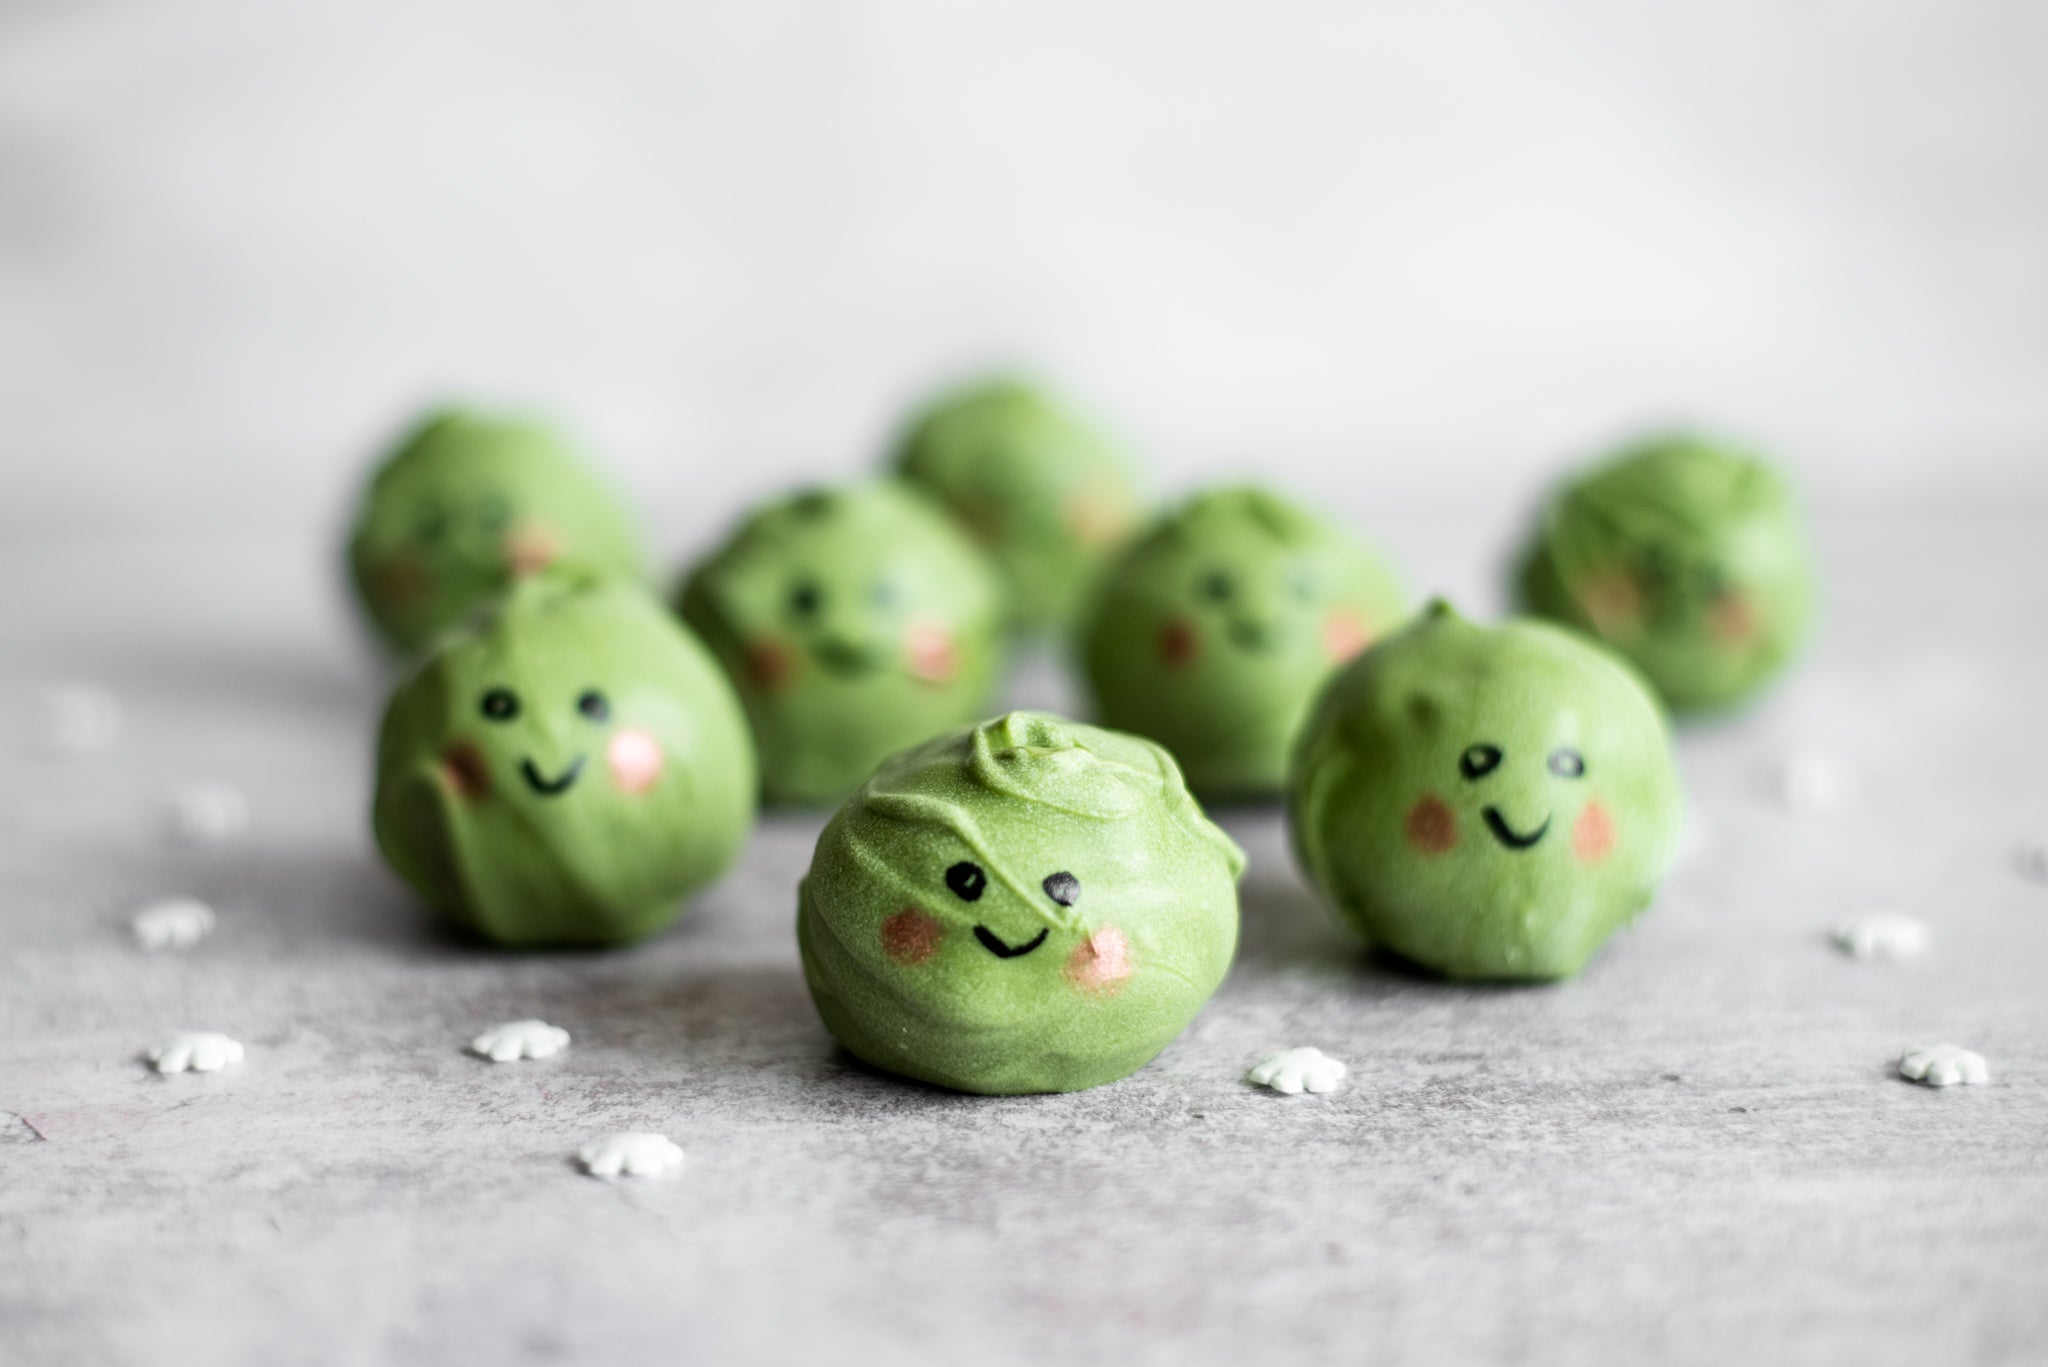
These little cake pops are adorable and sure to become a festive family favourite. Don't worry though, no real Brussel Sprouts were harmed in the making of these, they are actually made of the most incredible tasting chocolate and peanut butter truffle, using our favourite local Proper Nutty Peanut Butter. Coat with green candy melts and decorate with little faces to really bring them to life.
We made our own Madiera cake for this recipe - and used about 1/3. But any plain chocolate cake will do as long as it isn't too moist. The crumbs need to be fairly dry. The undecorated balls will keep for one week in the fridge. Once decorated, the truffles should be eaten within 5 days.
12 ingredients12 steps
Vegetarian
Ingredients
MetricImperial
For The Cake
150gUnsalted butter (softened)
150gSilver Spoon Caster Sugar
150gSelf Raising Flour
50gPlain flour
25gCocoa powder
3Large free range eggs
For The Frosting
25gUnsalted butter (softened)
85gProper Nutty peanut butter
65gSilver Spoon Icing Sugar
1/2 tspMilk
1/2 tspSalt
For The Coating
1 packetGreen candy melts
Utensils
6 inch spring form round cake tin
Cooling rack
Food processor
Mixing bowl
Rolling pin
Clingfilm
Saucepan
Baking parchment
Cocktail stick
Fine paintbrush
Nutritional information per 31g serving
Energy 186cal
Fat 10g
of which Saturates 7.1g
Carbohydrates 20g
of which Sugars 18g
Protein 2.4g
Salt 0.21g
Method
Step 1
Preheat your oven to 150ºc/130ºc fan/Gas 2. Grease and line the base and sides of a 6-inch spring form round tin.
Step 2
Cream together the butter and sugar until very pale and soft.
Ingredients for this step
150gUnsalted butter (softened)
150gSilver Spoon Caster Sugar
Step 3
Add the eggs one at a time with a spoonful of flour to stop the mixture from curdling.
Ingredients for this step
3Large free range eggs
Step 4
Add the remaining flours and cocoa. Mix well to make a smooth fairly stiff batter.
Ingredients for this step
25gCocoa powder
Step 5
Place in your prepared tin and level the top. Bake in your preheated oven for 1 hr 15 mins. and then check to see if it's ready. You may need a further 10-15 minutes. When cooked, allow the cake to cool in its tin for 15 minutes before cooling completely on a rack.
Step 6
When you are ready to make the truffles, crumble 200g of the cake into fine crumbs. We used a food processor for this.
Step 7
In a separate bowl mix together all the ingredients for the frosting until you have a smooth paste. Mix in the cake crumbs to make stiff dough like consistency.
Ingredients for this step
25gUnsalted butter (softened)
85gProper Nutty peanut butter
65gSilver Spoon Icing Sugar
1/2 tspMilk
1/2 tspSalt
Step 8
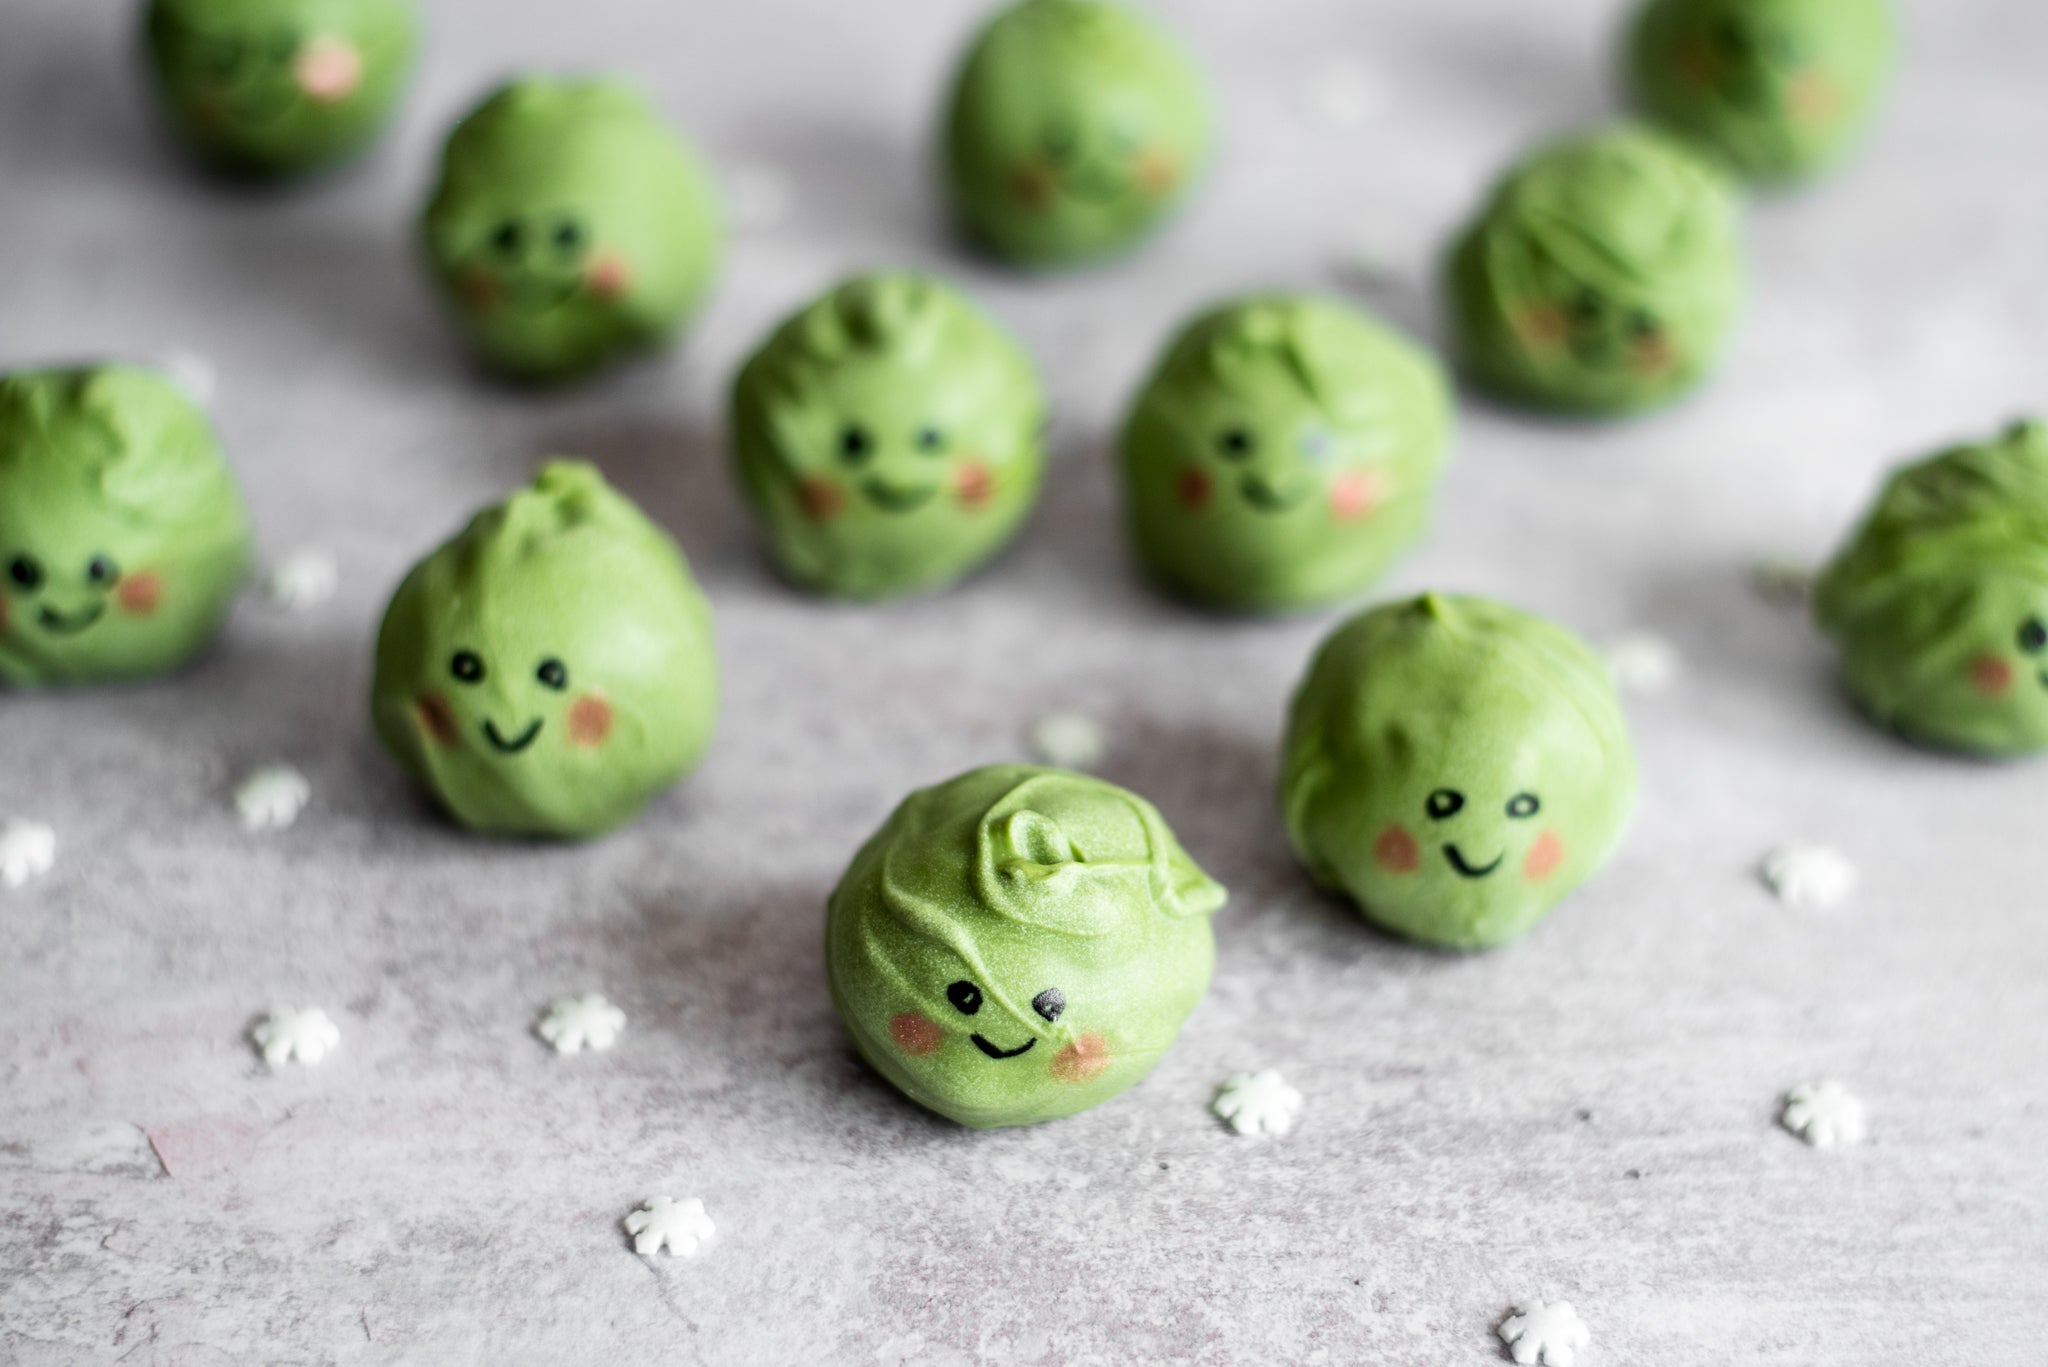
Roll the mixture into 20 sprout sized balls. Each one will weigh about 18g.
Step 9
Place the balls on a plate or board covered with cling film and chill for 30 minutes in the freezer or a bit longer in the fridge.
Step 10
While the balls are chilling, melt your candy melts over a pan of simmering water. Once melted, you may need to add 1/2 a teaspoon of vegetable shortening to thin the mixture.
Step 11
One by one dip the chilled balls into the green candy. Shake off any drips and place on a board covered with baking parchment. Use a cocktail stick or paintbrush to rough up the surface a little.
Ingredients for this step
1 packetGreen candy melts
Step 12
If you would like to, you can paint little faces on them, using a fine brush and black food paint. We used edible lustre powder applied with a soft brush to give them rosy cheeks.
1 Baker Ratings
So much fun! I ate loads before I made them into sprouts....