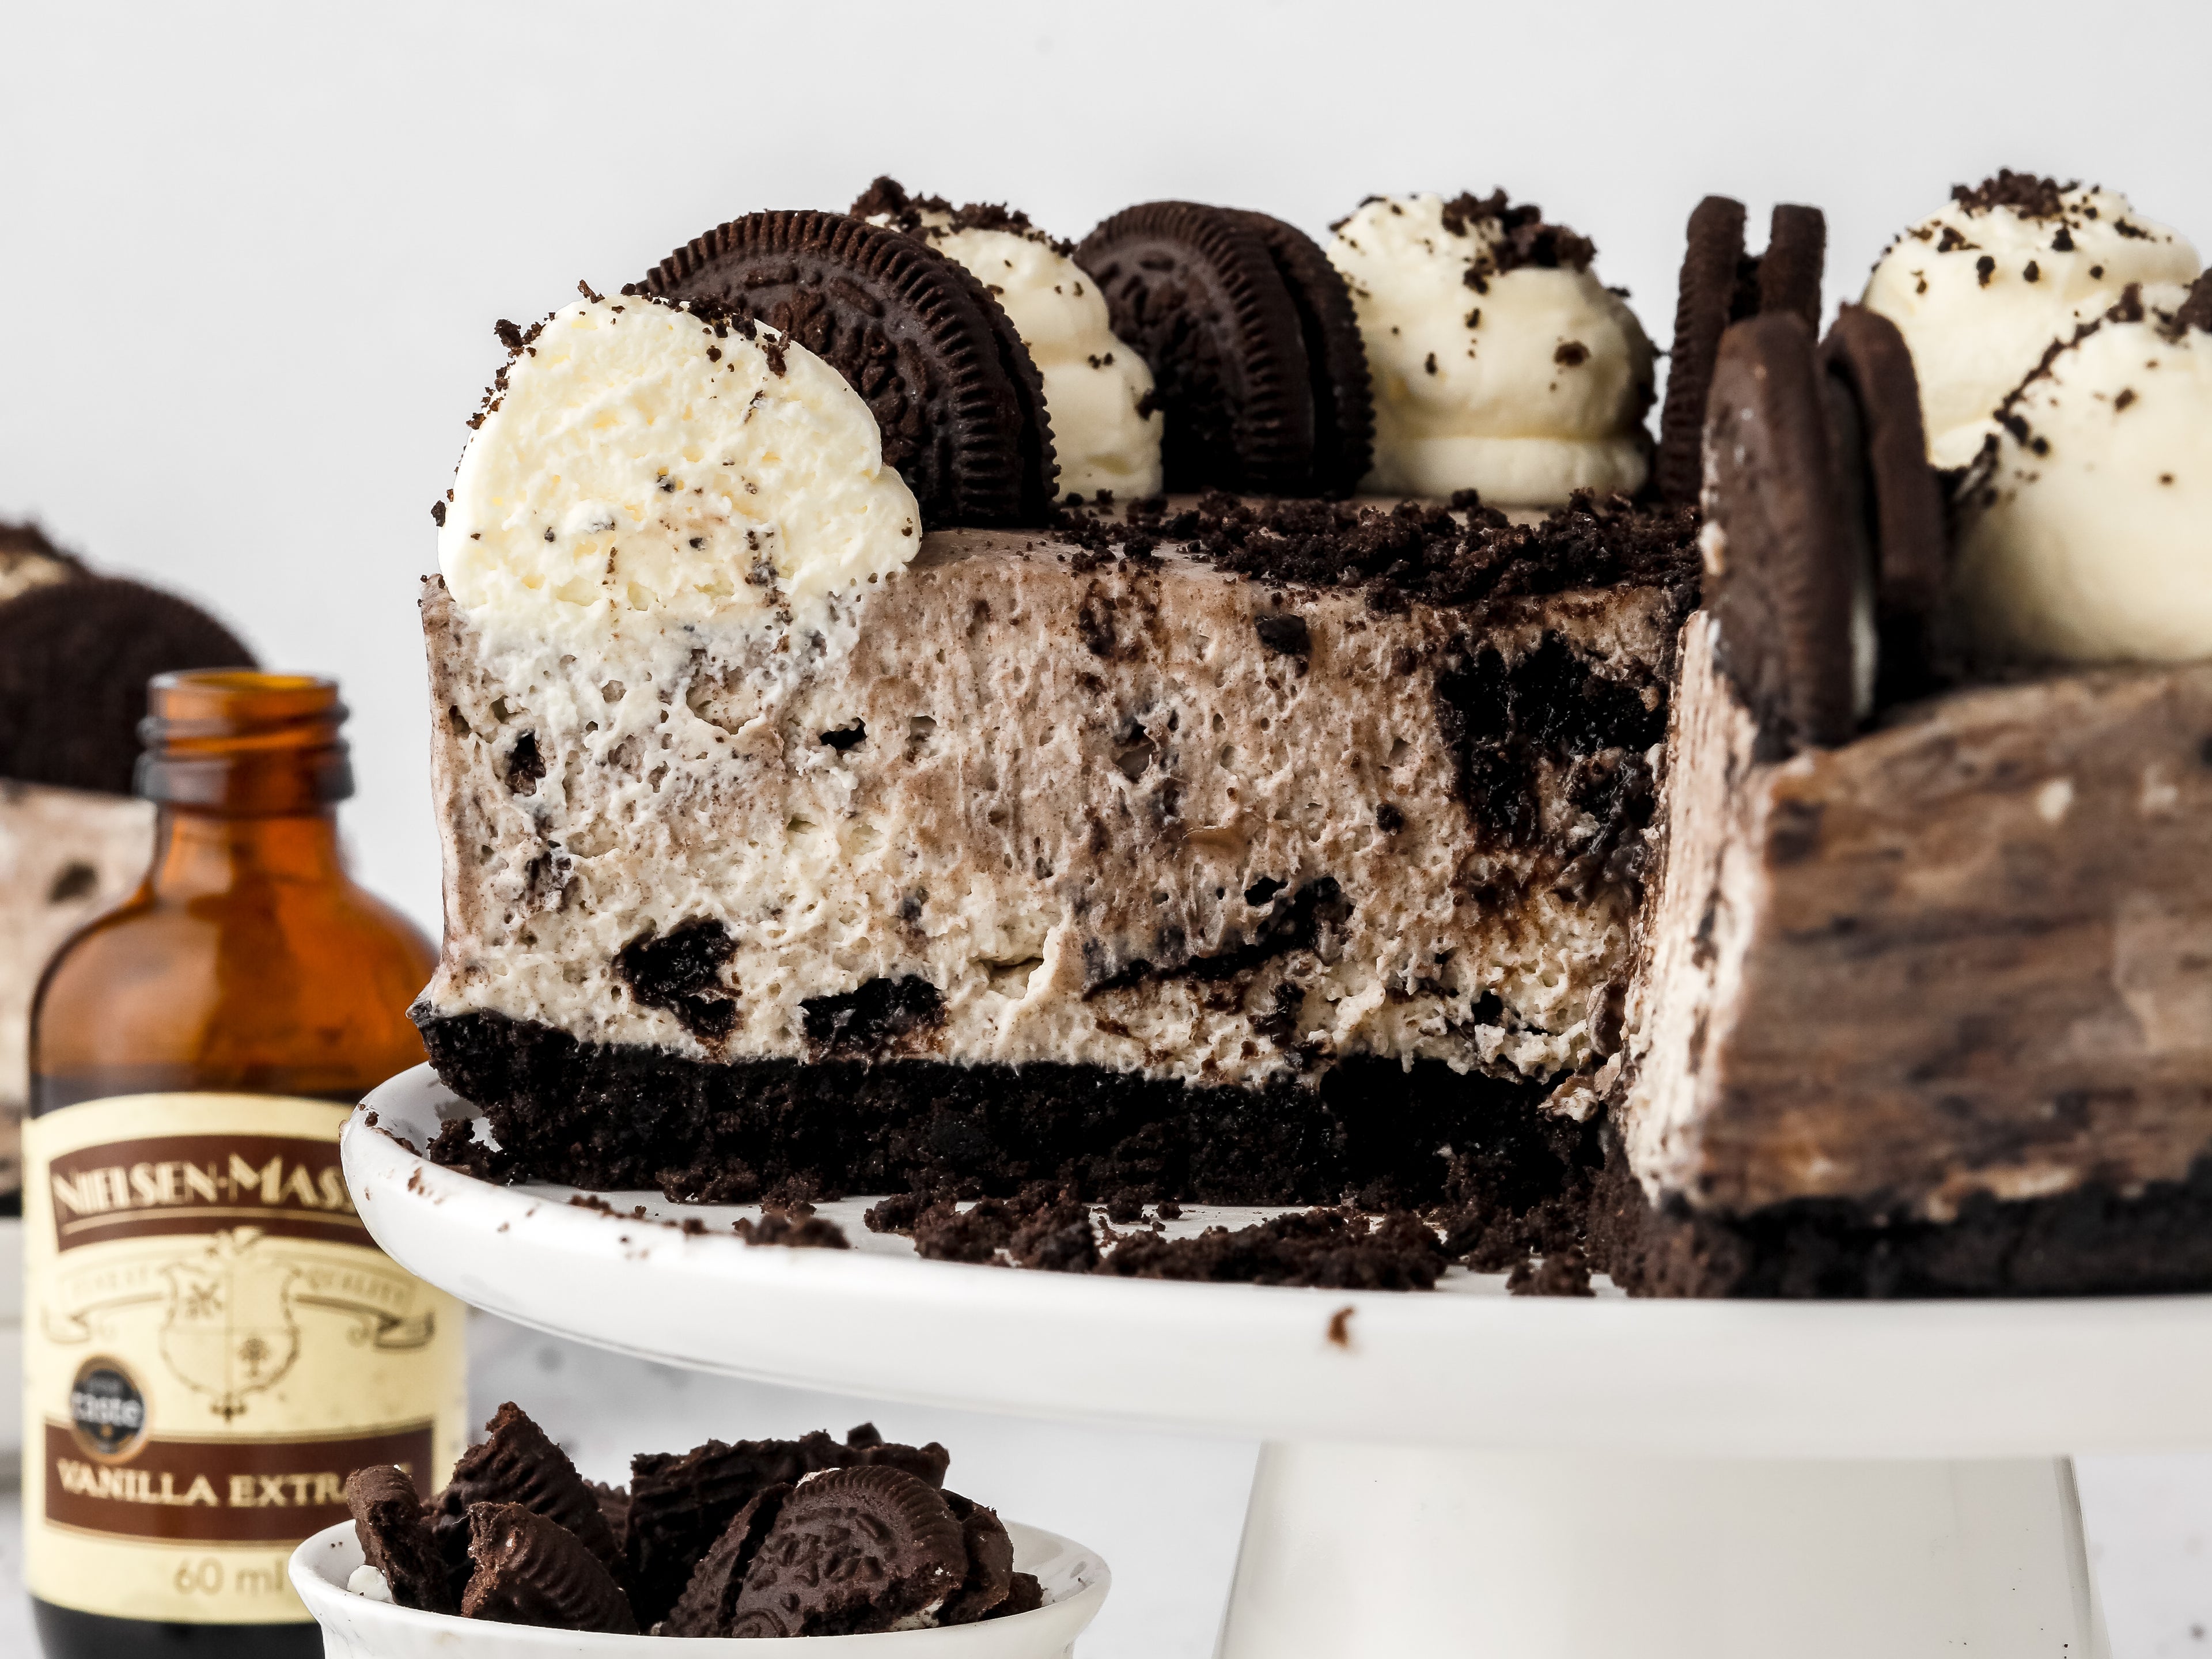
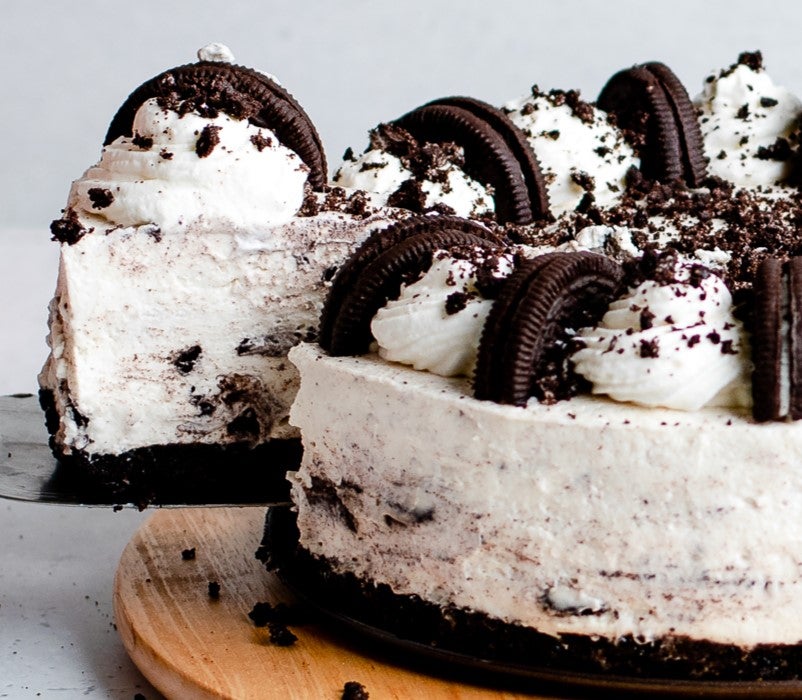
Our No Bake Oreo Cheesecake recipe is simple to make and simply delicious. No oven required; you can whip up the creamy Oreo filling and crunchy biscuit base in next to no time; the hardest part is resisting the urge to eat it all.
Is no bake cheesecake better than baked cheesecake?
This comes down to your personal preference. The beauty of no bake cheesecakes is that you don’t need an oven, just a fridge to chill or set your cheesecake. No bake cheesecake recipes can be a little less technical and quicker to make than a baked cheesecake. The consistency of both can differ too; with no-bake cheesecakes being light and airy, and the baked versions being a little denser, but rich and velvety. See our full collection of no bake recipes here.
How to make sure your no bake cheesecake filling turns out firm
If your no bake Oreo cheesecake is too runny, you may need to leave it longer to set. To create a thick, velvety filling, ensure that you beat the whipping cream to a stiff peak consistency. This means that when the whisk is removed the cream should stand upright, forming a peak on top. If the peak droops, this is soft peak stage and your cream will need to be whipped a little bit longer. Take care not to over-beat your cream cheese, as this can cause it to separate and produce a runnier cheesecake consistency.
How to ensure your no bake cheesecake base remains crisp
When making your no bake cheesecake base, you should be sure to chill the crumb crust for at least 10 minutes to help it solidify and prevent it from turning soggy. You should also be sure to use a higher ratio of butter to crumbs for a no-bake base, as this will result in a sturdier base when refrigerated.
Substitutions and Variations
Substitutions
If you're looking for a vegan and gluten free alternative, why not try our No Bake Vegan Chocolate Cheesecake? It's super easy to whip up and will impress your guests!
Begin by lining the base of an 8-inch circular springform tin with greaseproof baking paper.
Step 2
To make the base, crush the Oreos to a fine crumb in a food processor, or by placing the Oreos in a freezer bag and crushing with a rolling pin. Mix these crumbs in a bowl with the melted butter, then once combined, pour the mix into the tin, pressing down firmly to smooth down the top. You can use a potato masher to help apply even pressure.
Ingredients for this step
300gOreos (chopped finely)
60gButter (melted)
Step 3
Place the tin with the Oreo base into the fridge to chill while you prepare the cheesecake filling. For best results, chill for an hour, but at a minimum, let it set for at least 10 minutes.
Step 4
Roughly chop the 15 Oreos needed for the cheesecake mix and keep to one side.
Ingredients for this step
15Oreos (chopped)
Step 5
In a clean mixing bowl, mix together the cream cheese, icing sugar and vanilla extract.
Ingredients for this step
125gSilver Spoon Icing Sugar
1 tspNielsen-Massey Vanilla Extract
450gCream cheese
Step 6
In a separate bowl, whip the cold whipping cream until it reaches a ‘stiff peak’ consistency - this means that when you remove the whisk, the peaks of the whipped cream stand upright. Gently fold the cream into the cream cheese mixture with a spatula.
Ingredients for this step
15Oreos (chopped)
480mlWhipping cream
Step 7
Next, carefully fold in the chopped Oreo pieces. Remove the tin from the fridge and spoon in the filling, using a spatula to smooth the top.
Step 8
Place the mixture back in the fridge to set for 4 hours or preferably overnight.
Step 9
Just before serving, finely chop the remaining Oreos required for the topping and decorate by sprinkling these over the cheesecake. For an extra touch you could also whip up some cream and pipe around the rim of the top of the cheesecake, alternating with any spare oreos.