Biscuit Recipes
The very best biscuit recipes
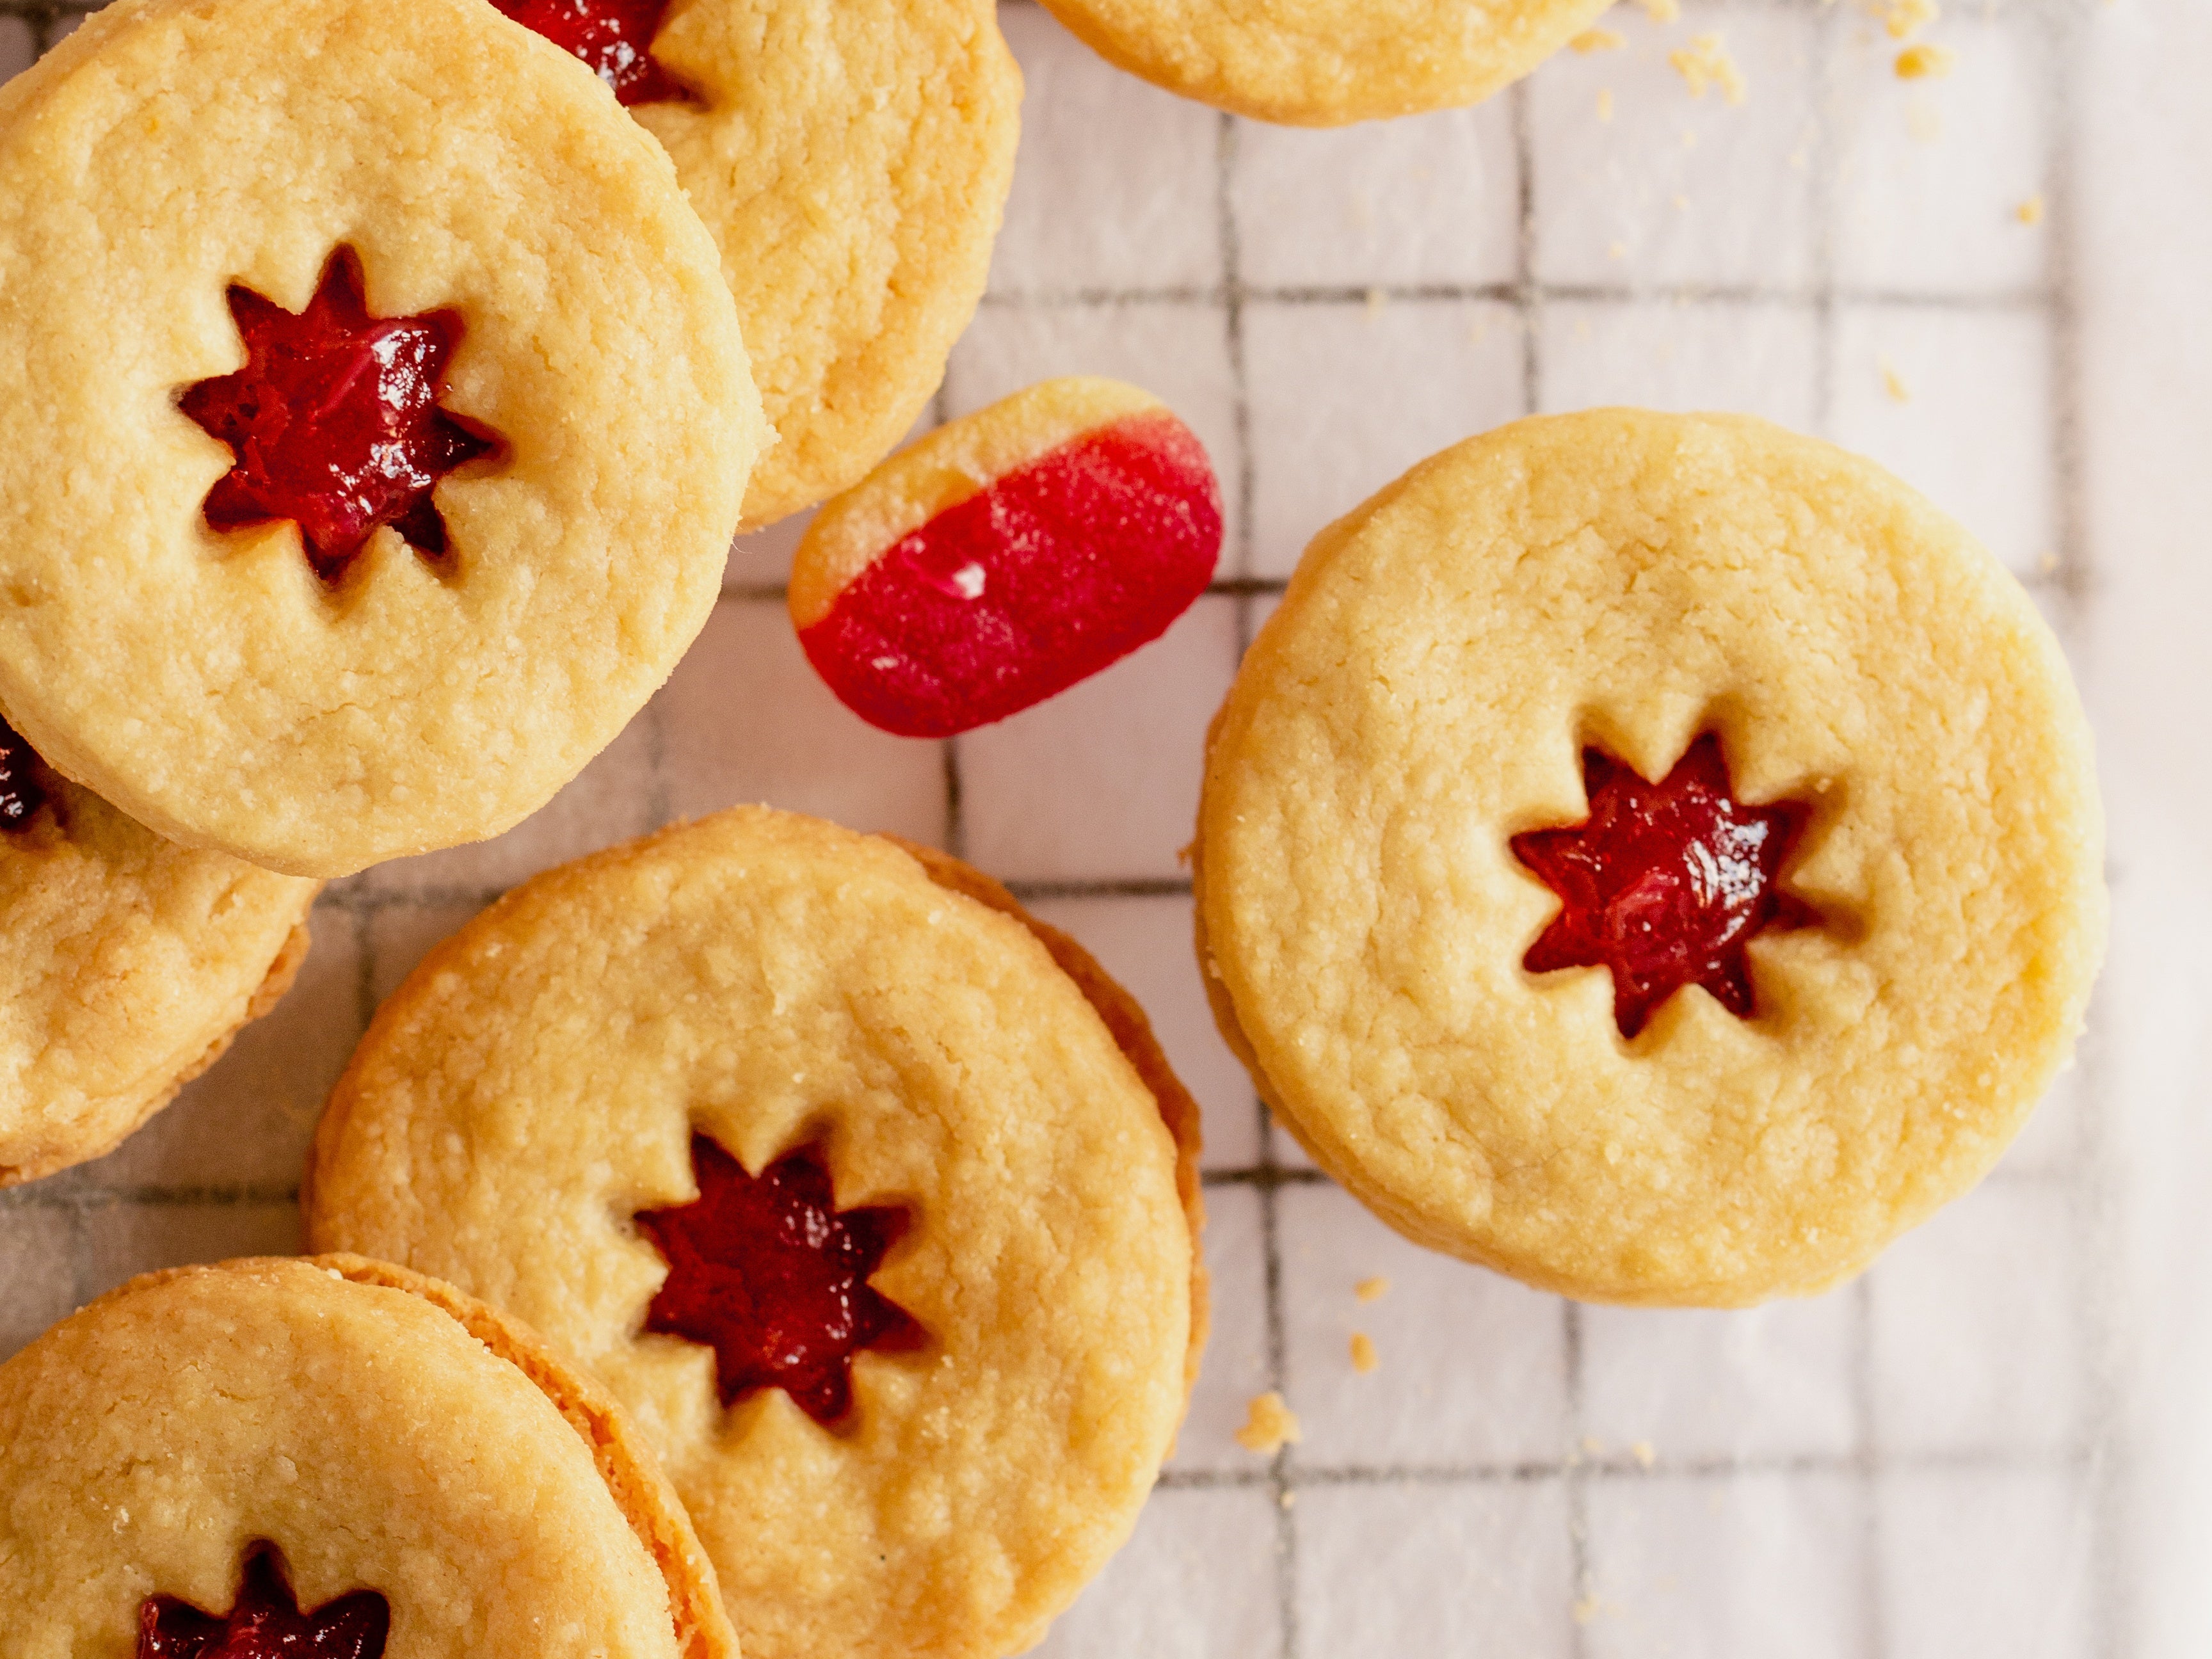
Oh snap. Have we a biscuit recipe selection for you? From bourbons, fig rolls and jammy dodgers, the hardest thing will be to pick which biscuit recipe to bake first.
Jaffa Cake - biscuit or cake? All we know is that they're delicious however you like to describe them. We’ve biscuit recipes for every occasion from a classic yet versatile biscuit recipe for a Sunday bake day, Mother’s Day biscuits, Easter and Christmas gingerbread. And pampered pooches will go barking mad for our 5* dog biscuits.
57 Results
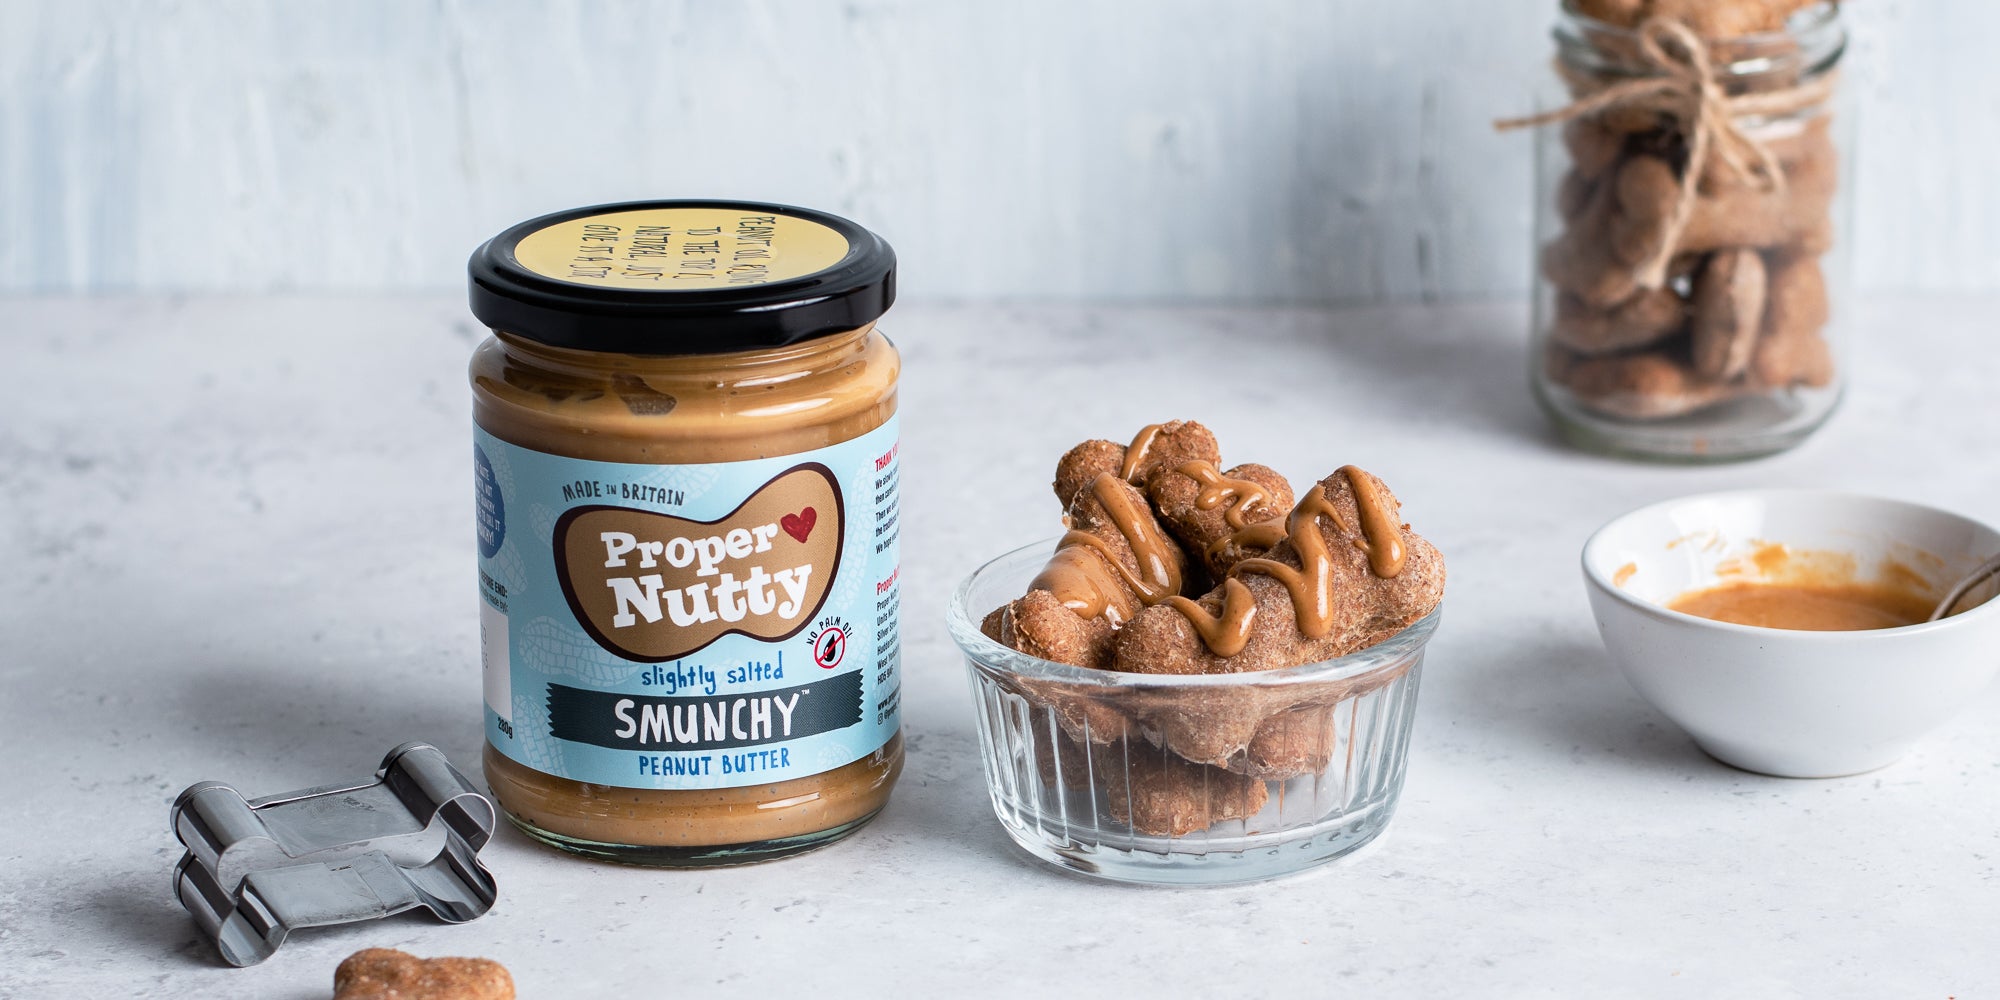
Dog Biscuits Recipe
113 Reviews
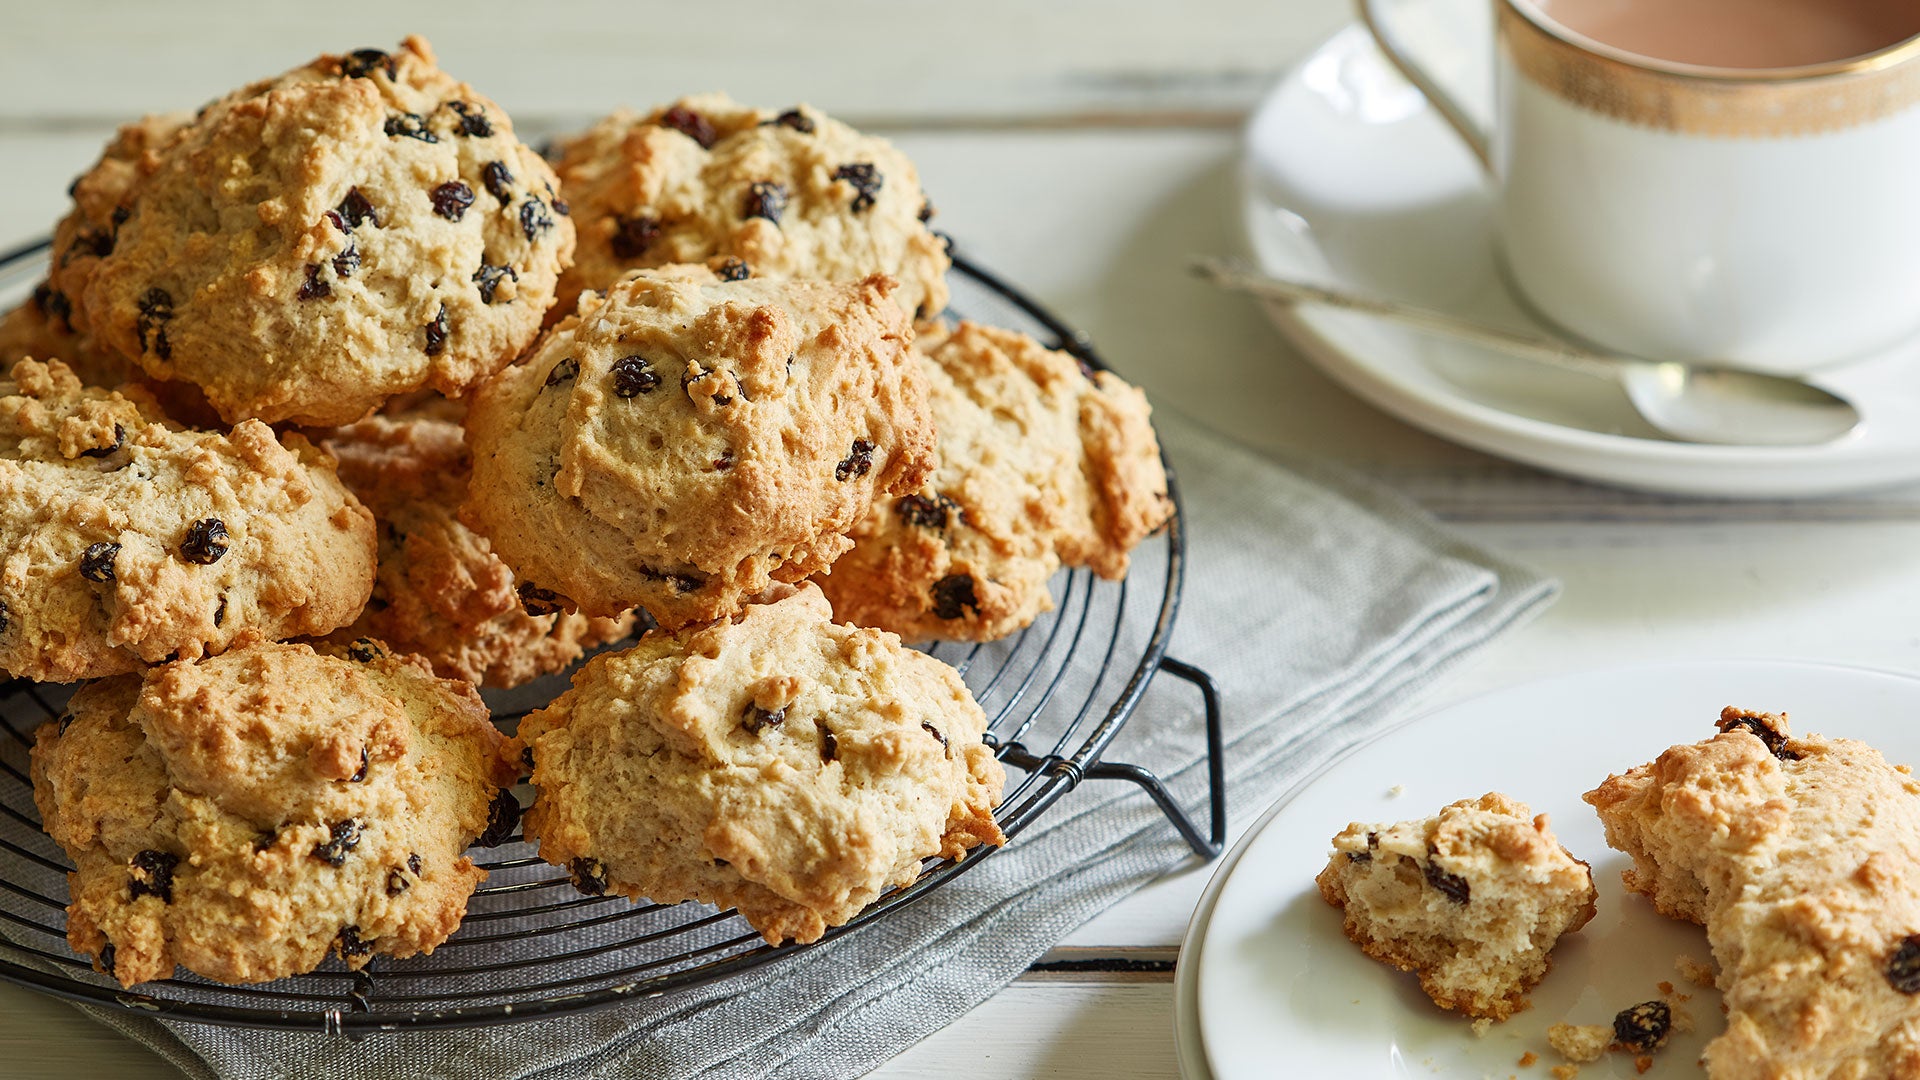
Rock Cakes
24 Reviews
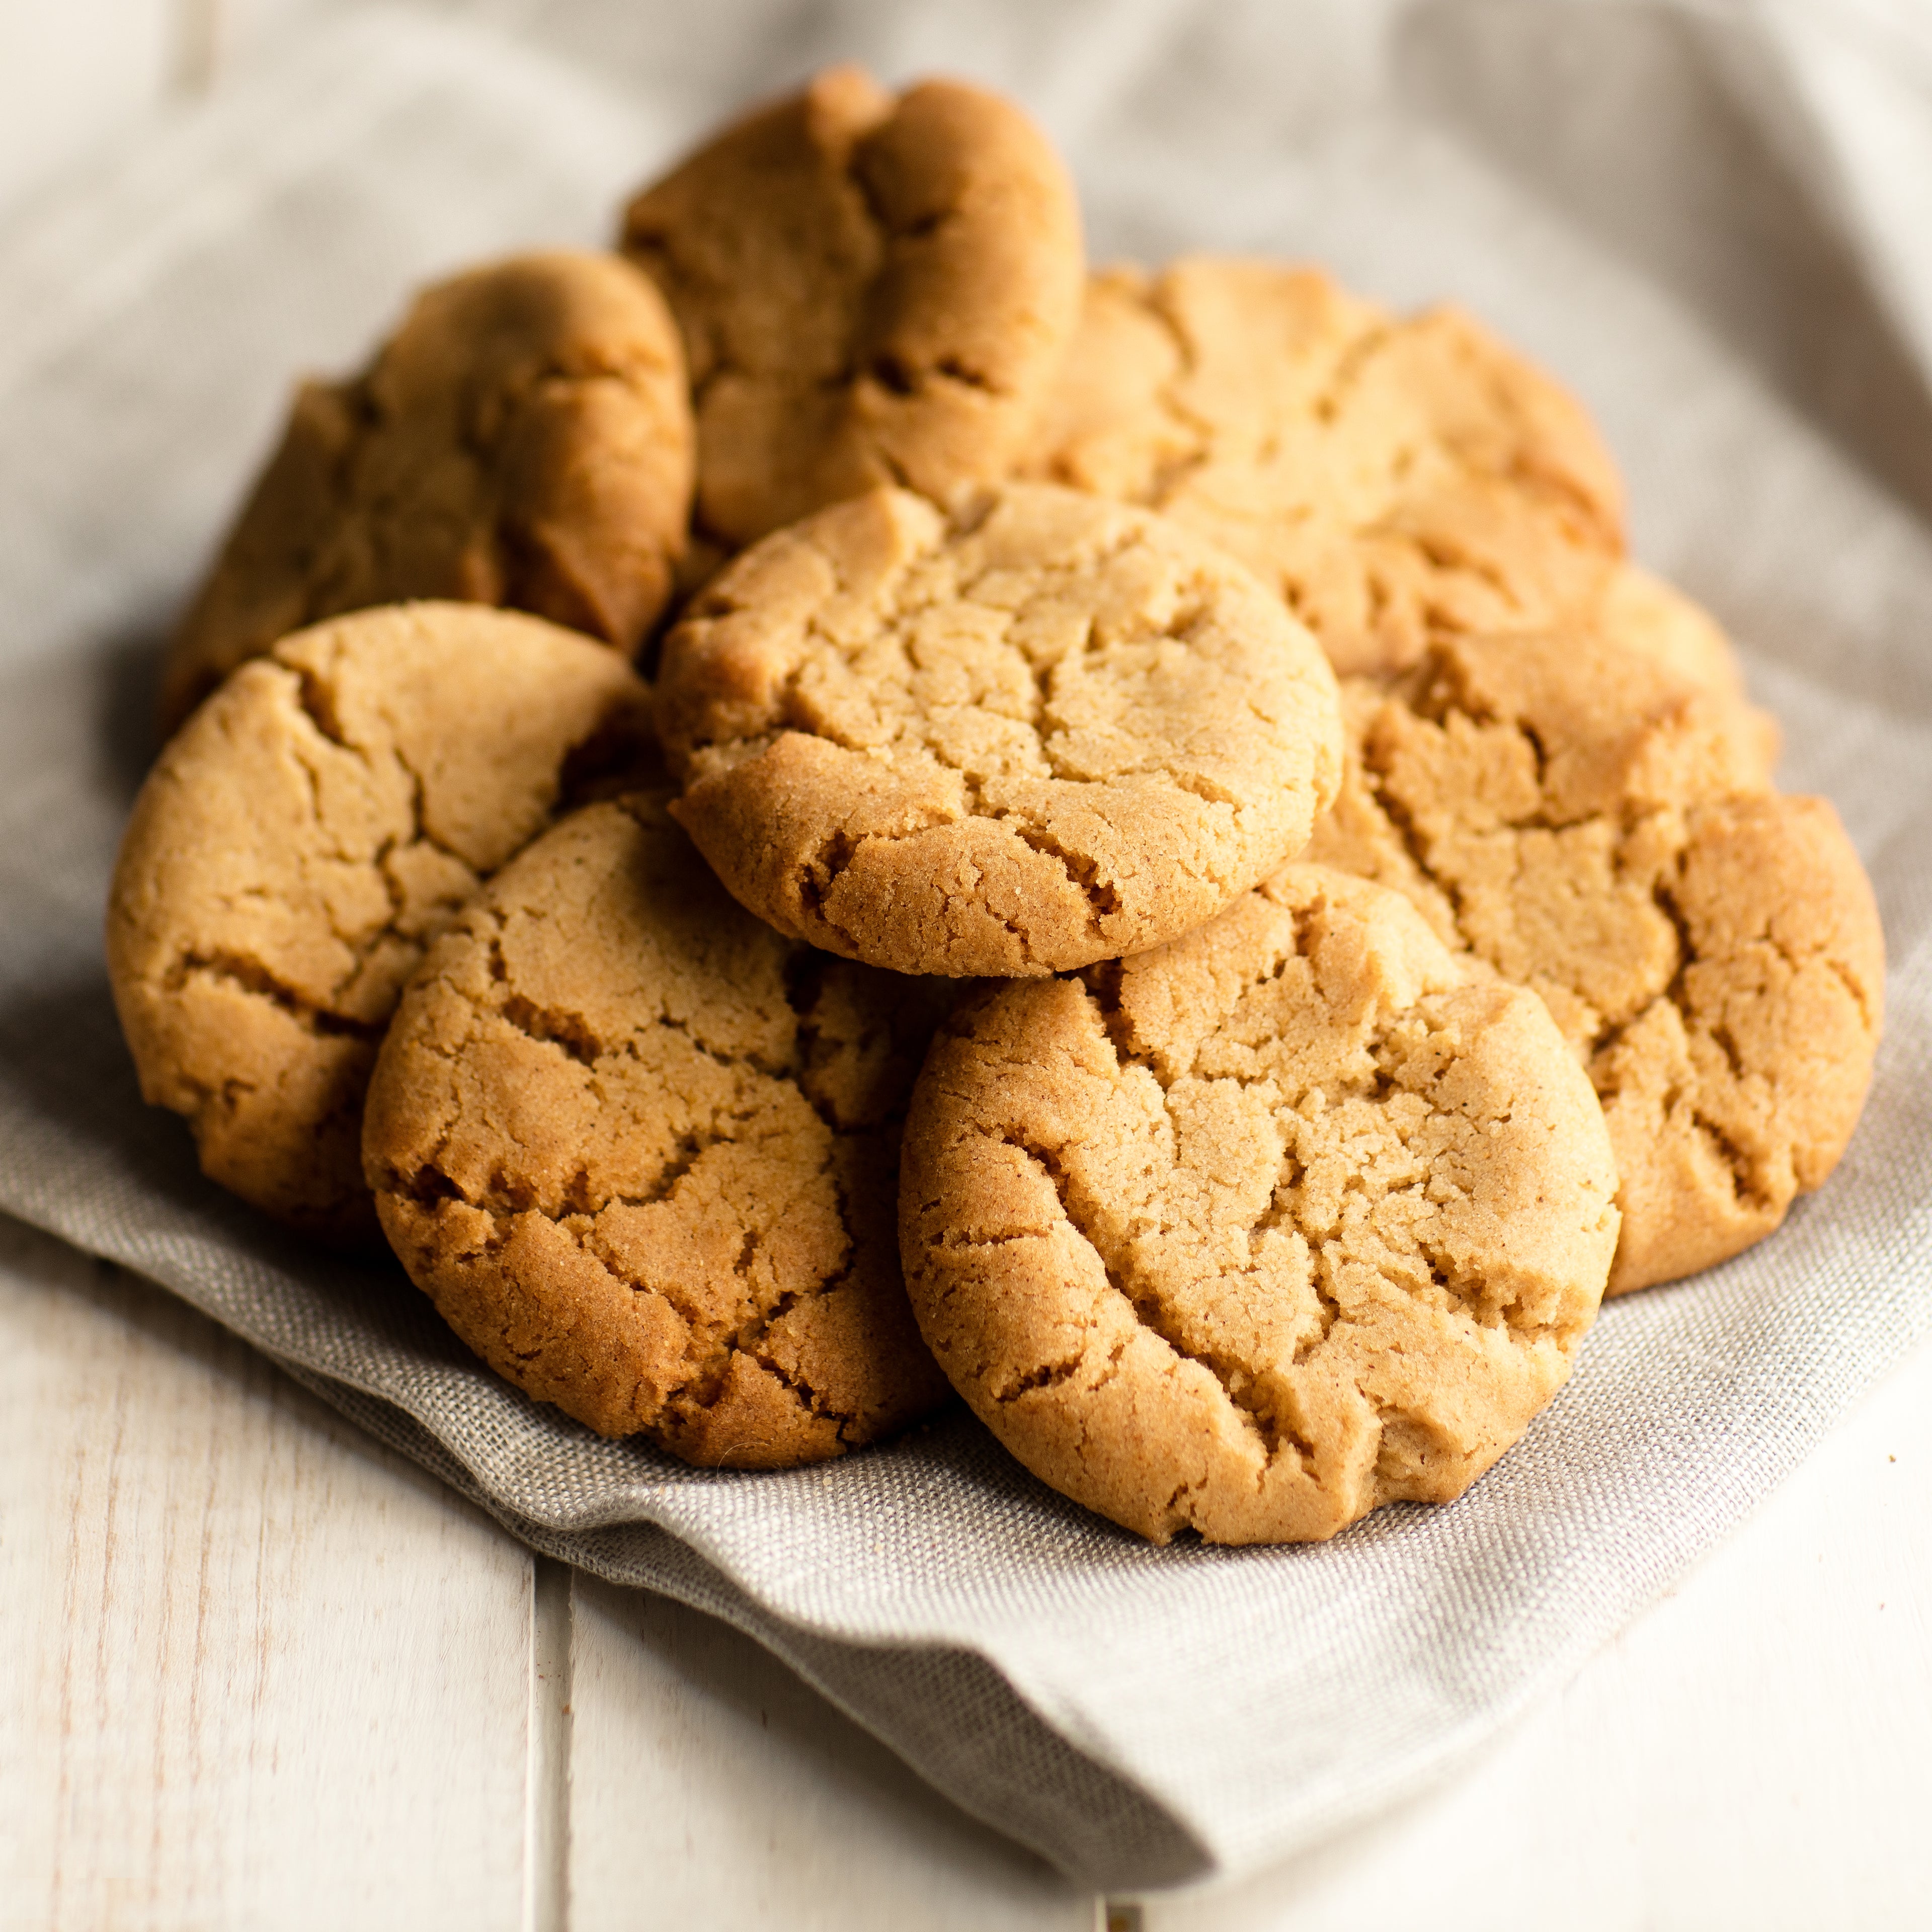
Cornish Fairings
23 Reviews
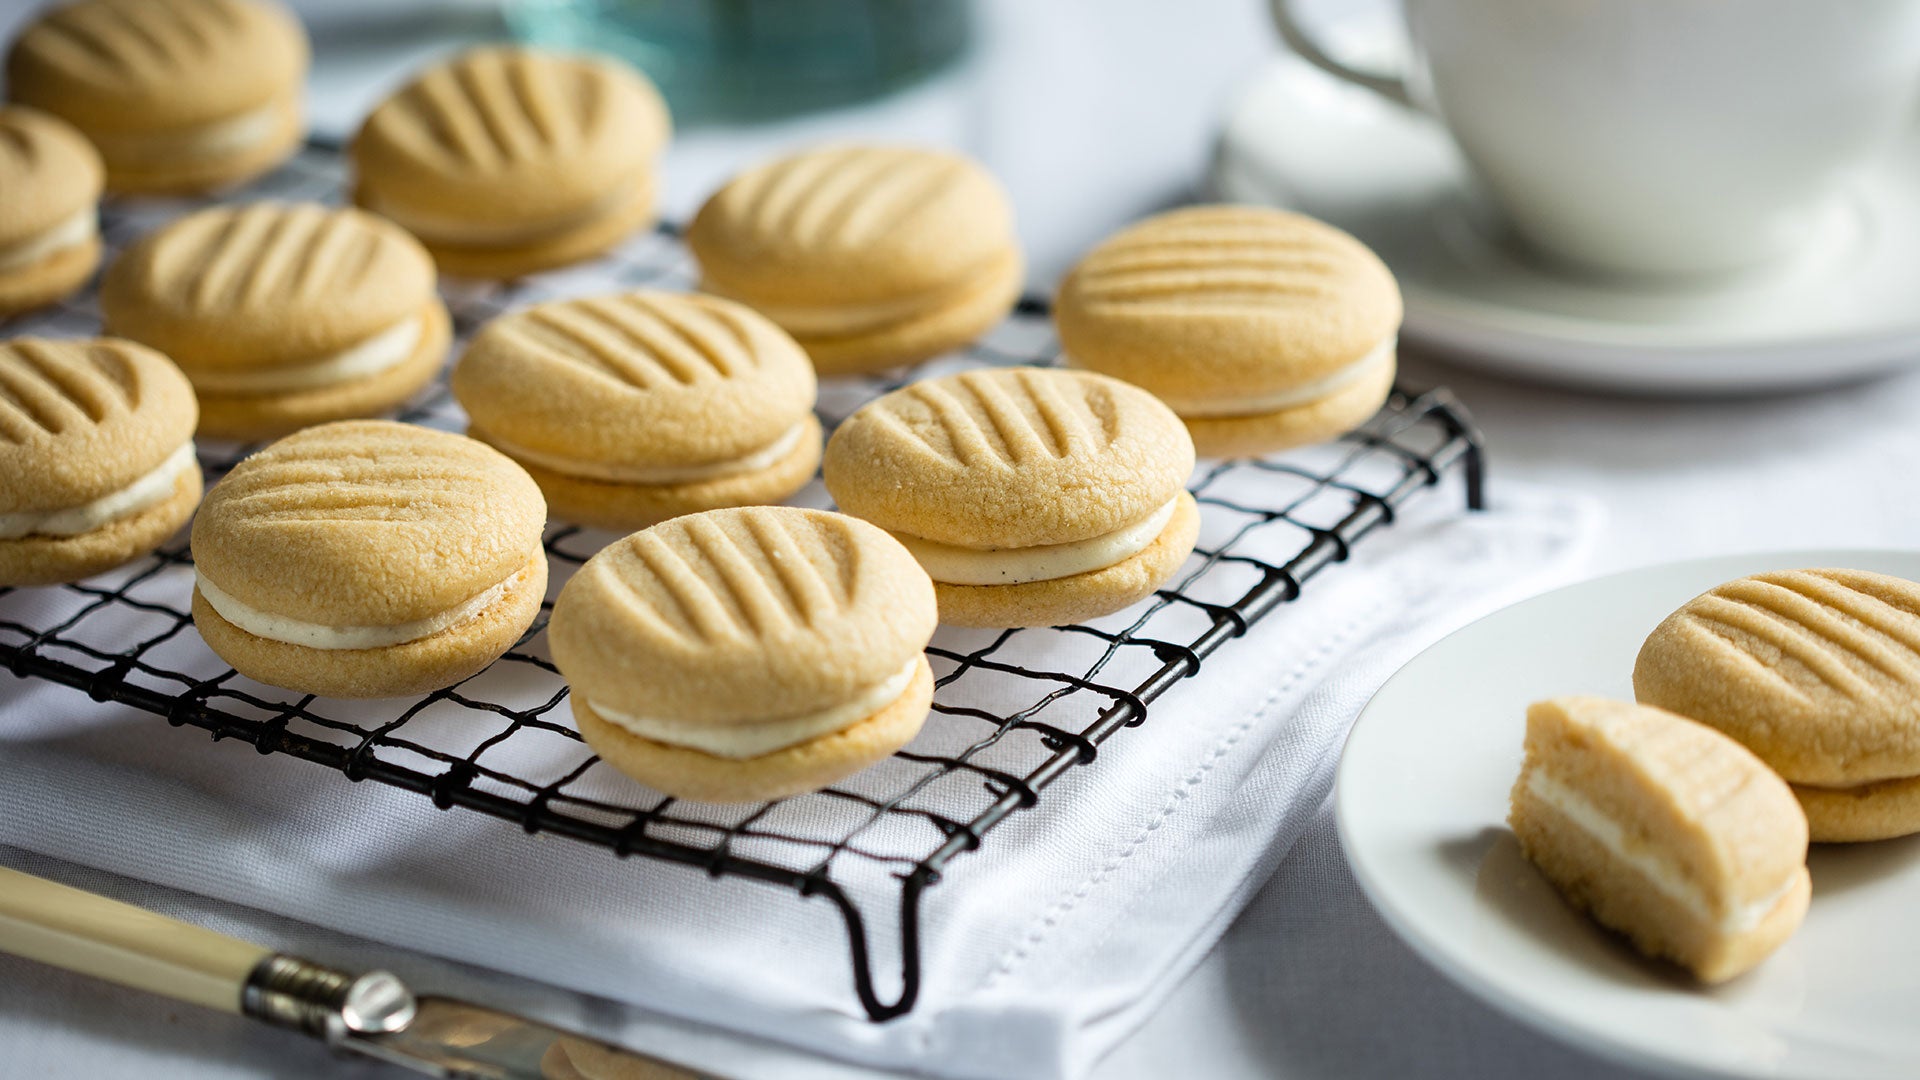
Melting Moments
12 Reviews
EF, NF, V
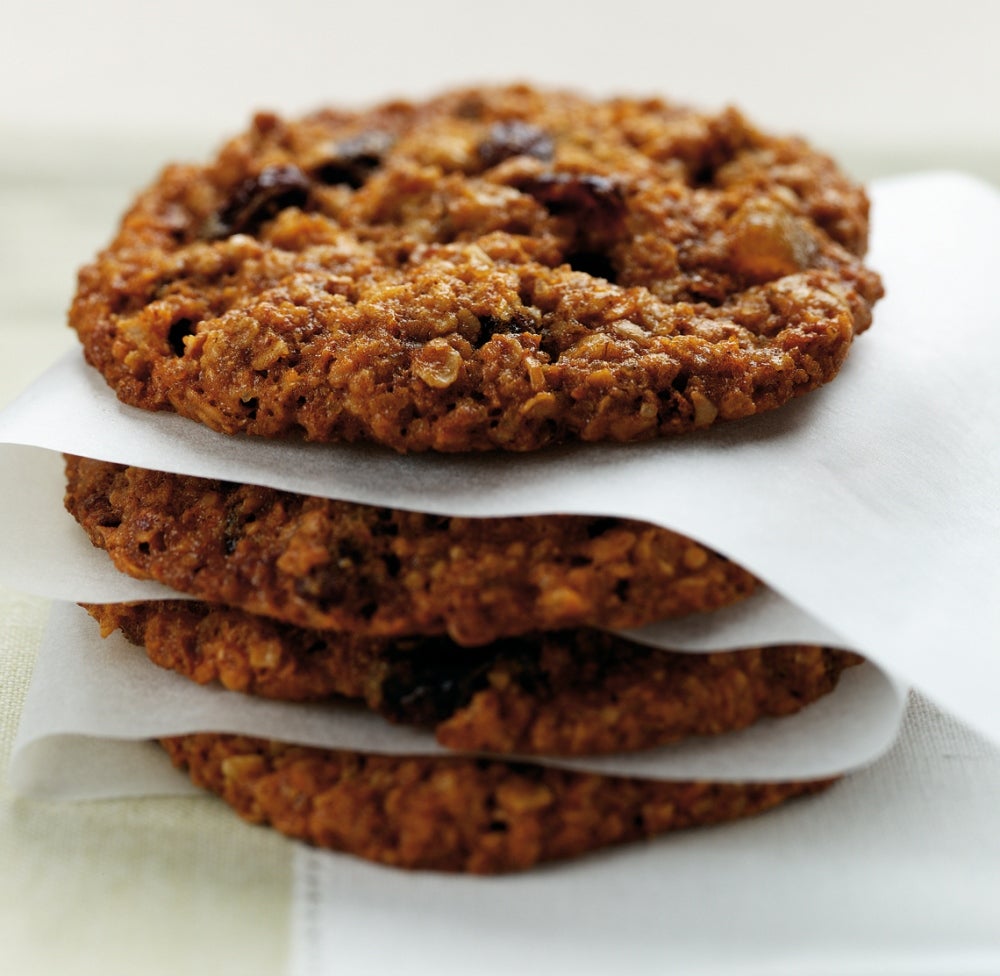
Crunchy Oaty Biscuits
9 Reviews

Sesame Snaps
8 Reviews
V
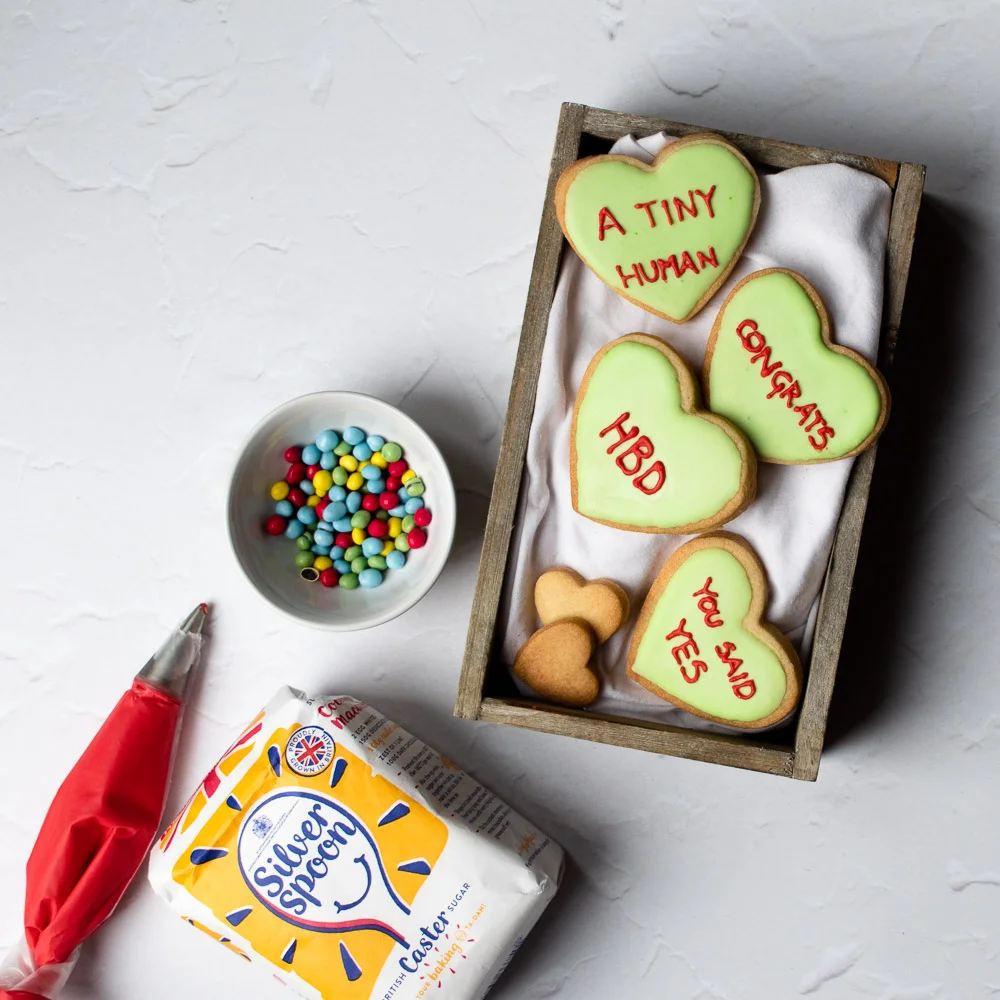
Love Heart Biscuits
4 Reviews
V

BB8 Star Wars Biscuits
4 Reviews
V

Wholemeal Chocolate Thins
4 Reviews

Almond Heart Shaped Biscuits
3 Reviews
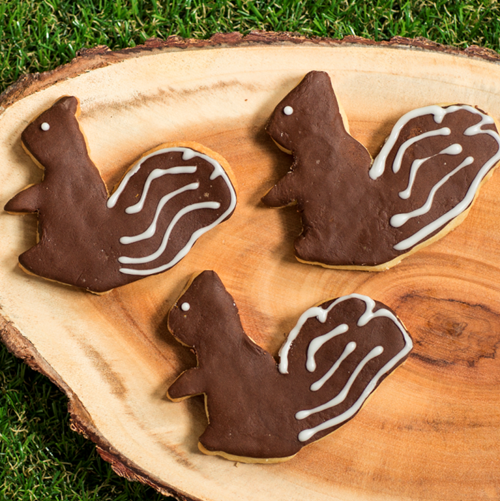
Squirrel Biscuits
3 Reviews
Curry Leaf and Cumin Dodgers
3 Reviews
V

Christmas Pudding Cookie Dog Treats
2 Reviews

Rosemary & Parmesan Crackers
2 Reviews

Tuiles
2 Reviews

Halloween Ghost Biscuits
2 Reviews

Princess Biscuits
2 Reviews

Santa's Footprint Biscuits
1 Reviews
V
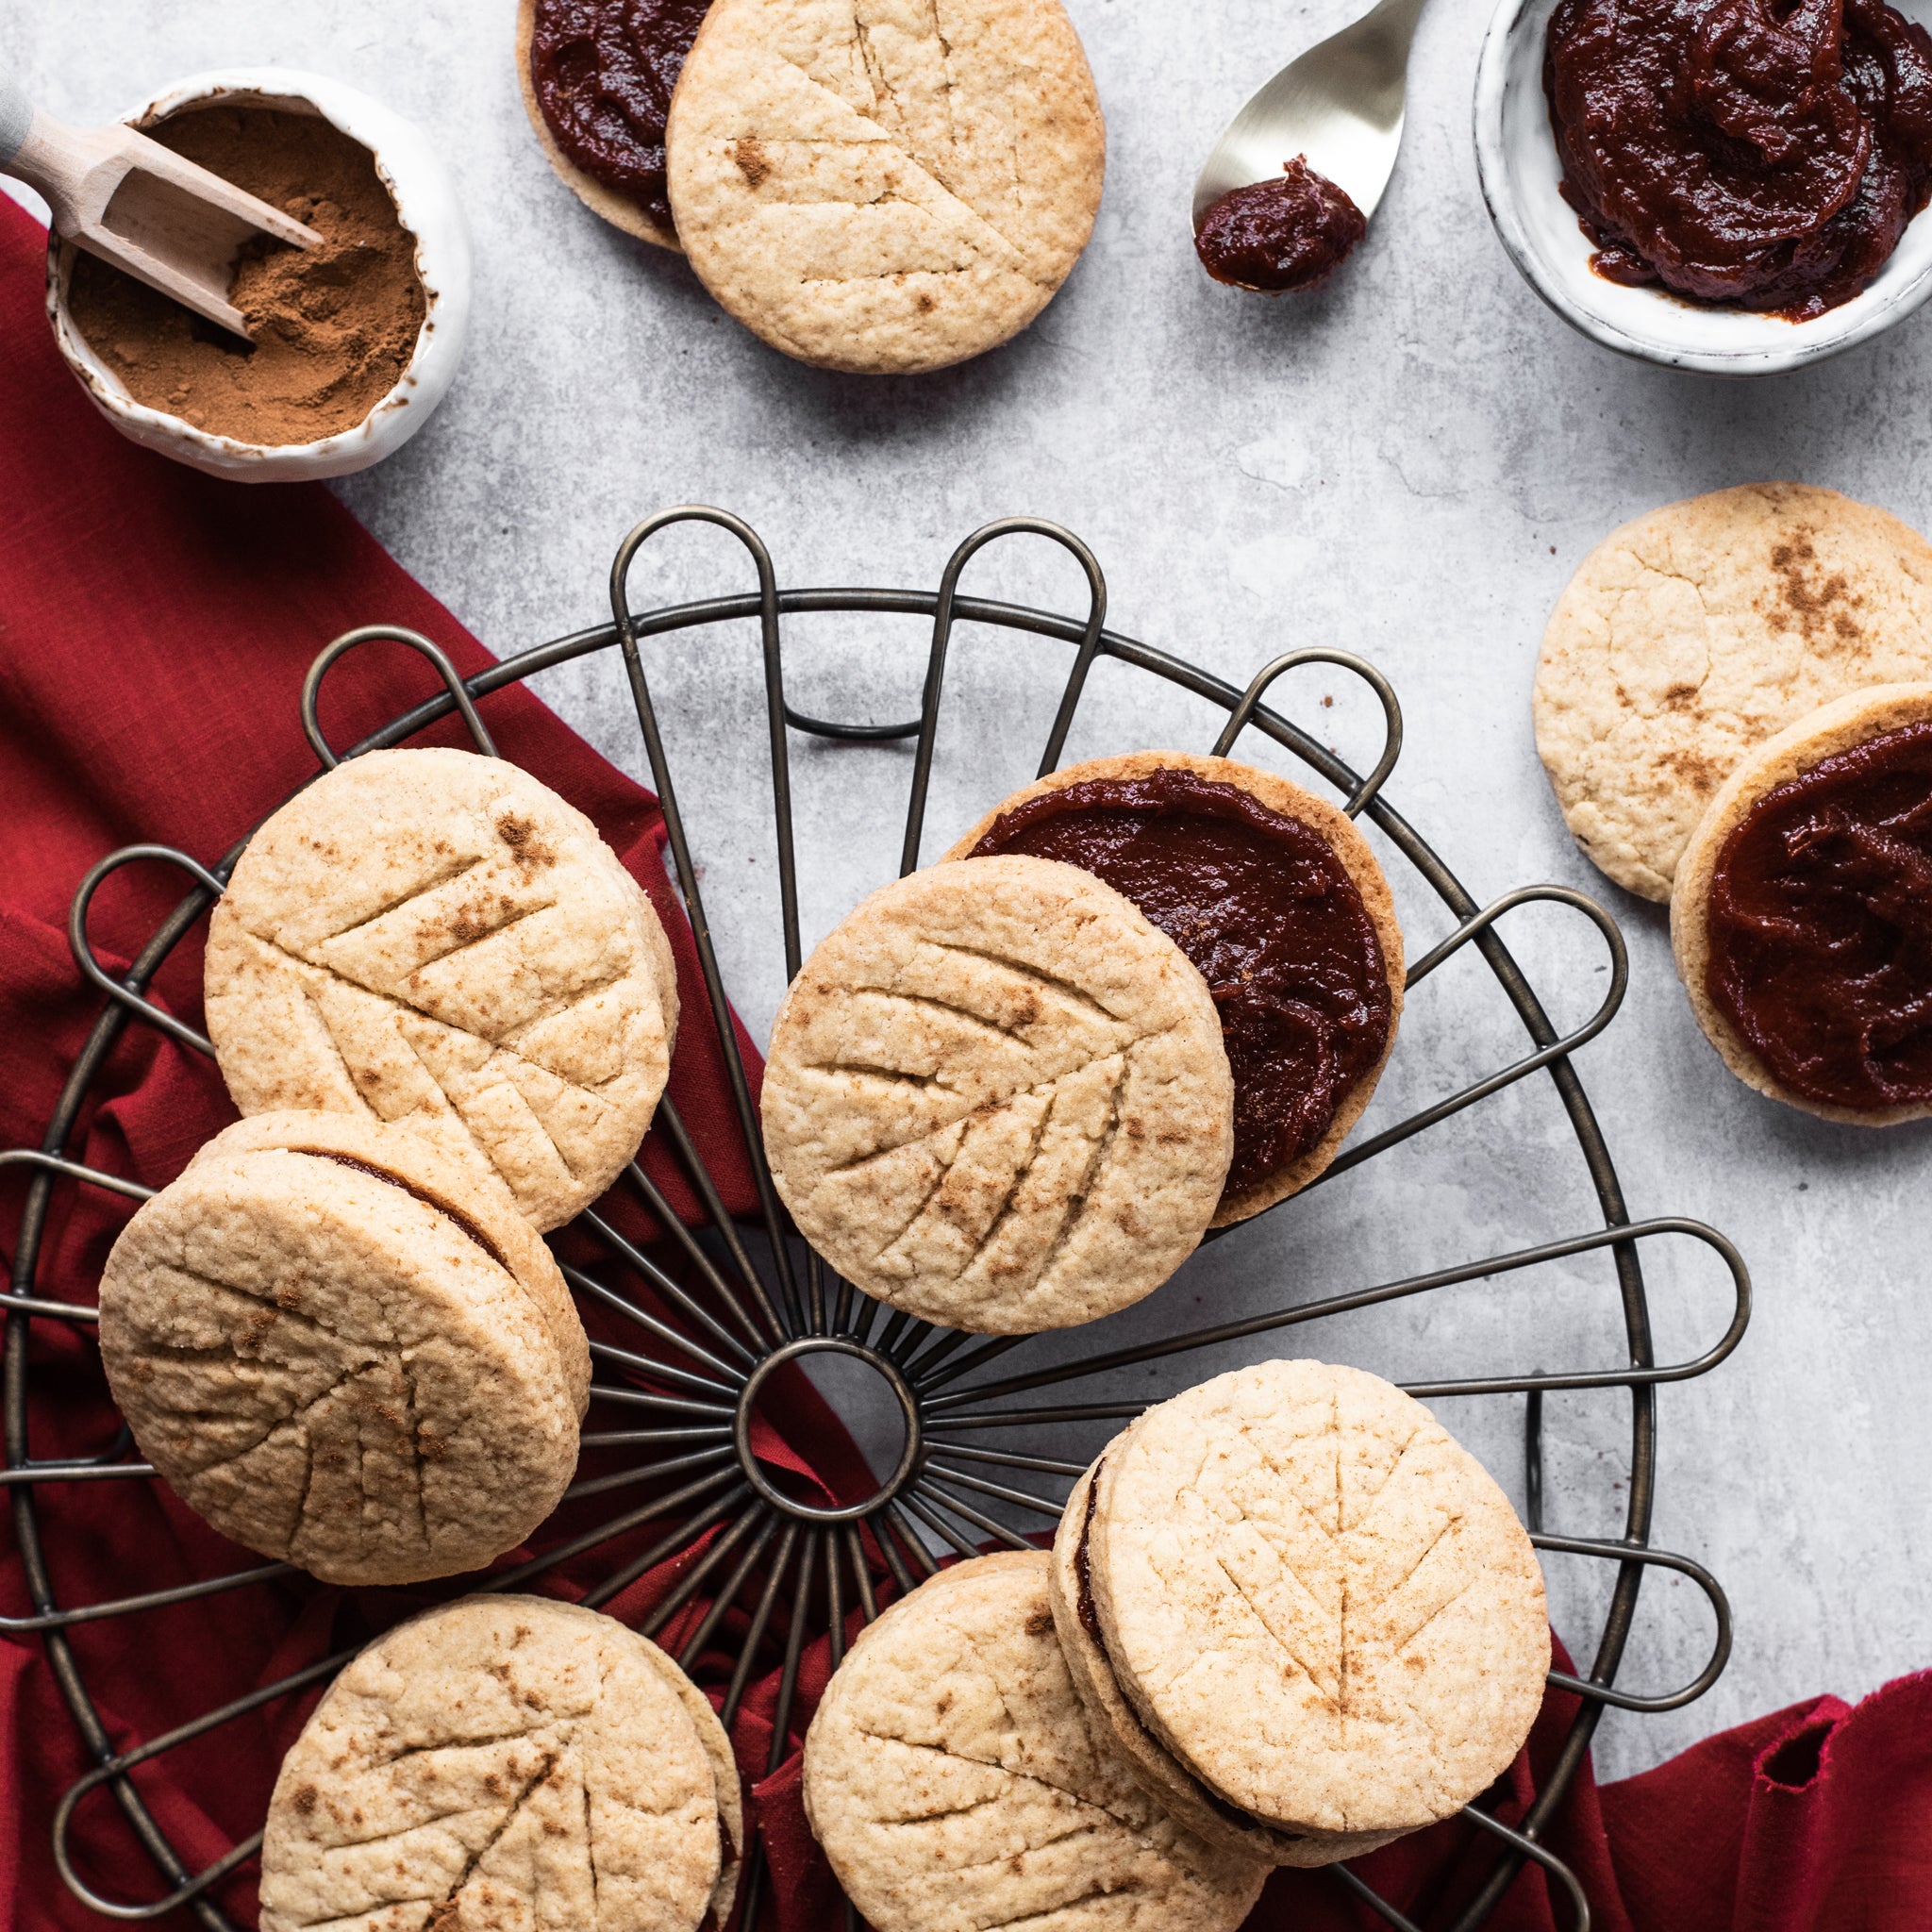
Copycat Rhubarb & Custard Jammy Dodger
1 Reviews

Vegan Biscuits
1 Reviews
VE